Calendar for June 2024 in Excel: A Comprehensive Guide
Related Articles: Calendar for June 2024 in Excel: A Comprehensive Guide
- Blank June And July 2024 Calendar: A Comprehensive Guide To Customization And Organization
- Are There Any Holidays In June 2024?
- Blank Calendar: April, May, June 2024
- April To June 2024 Calendar
- April Through June 2024 Calendar: A Comprehensive Overview
Introduction
With enthusiasm, let’s navigate through the intriguing topic related to Calendar for June 2024 in Excel: A Comprehensive Guide. Let’s weave interesting information and offer fresh perspectives to the readers.
Table of Content
Video about Calendar for June 2024 in Excel: A Comprehensive Guide
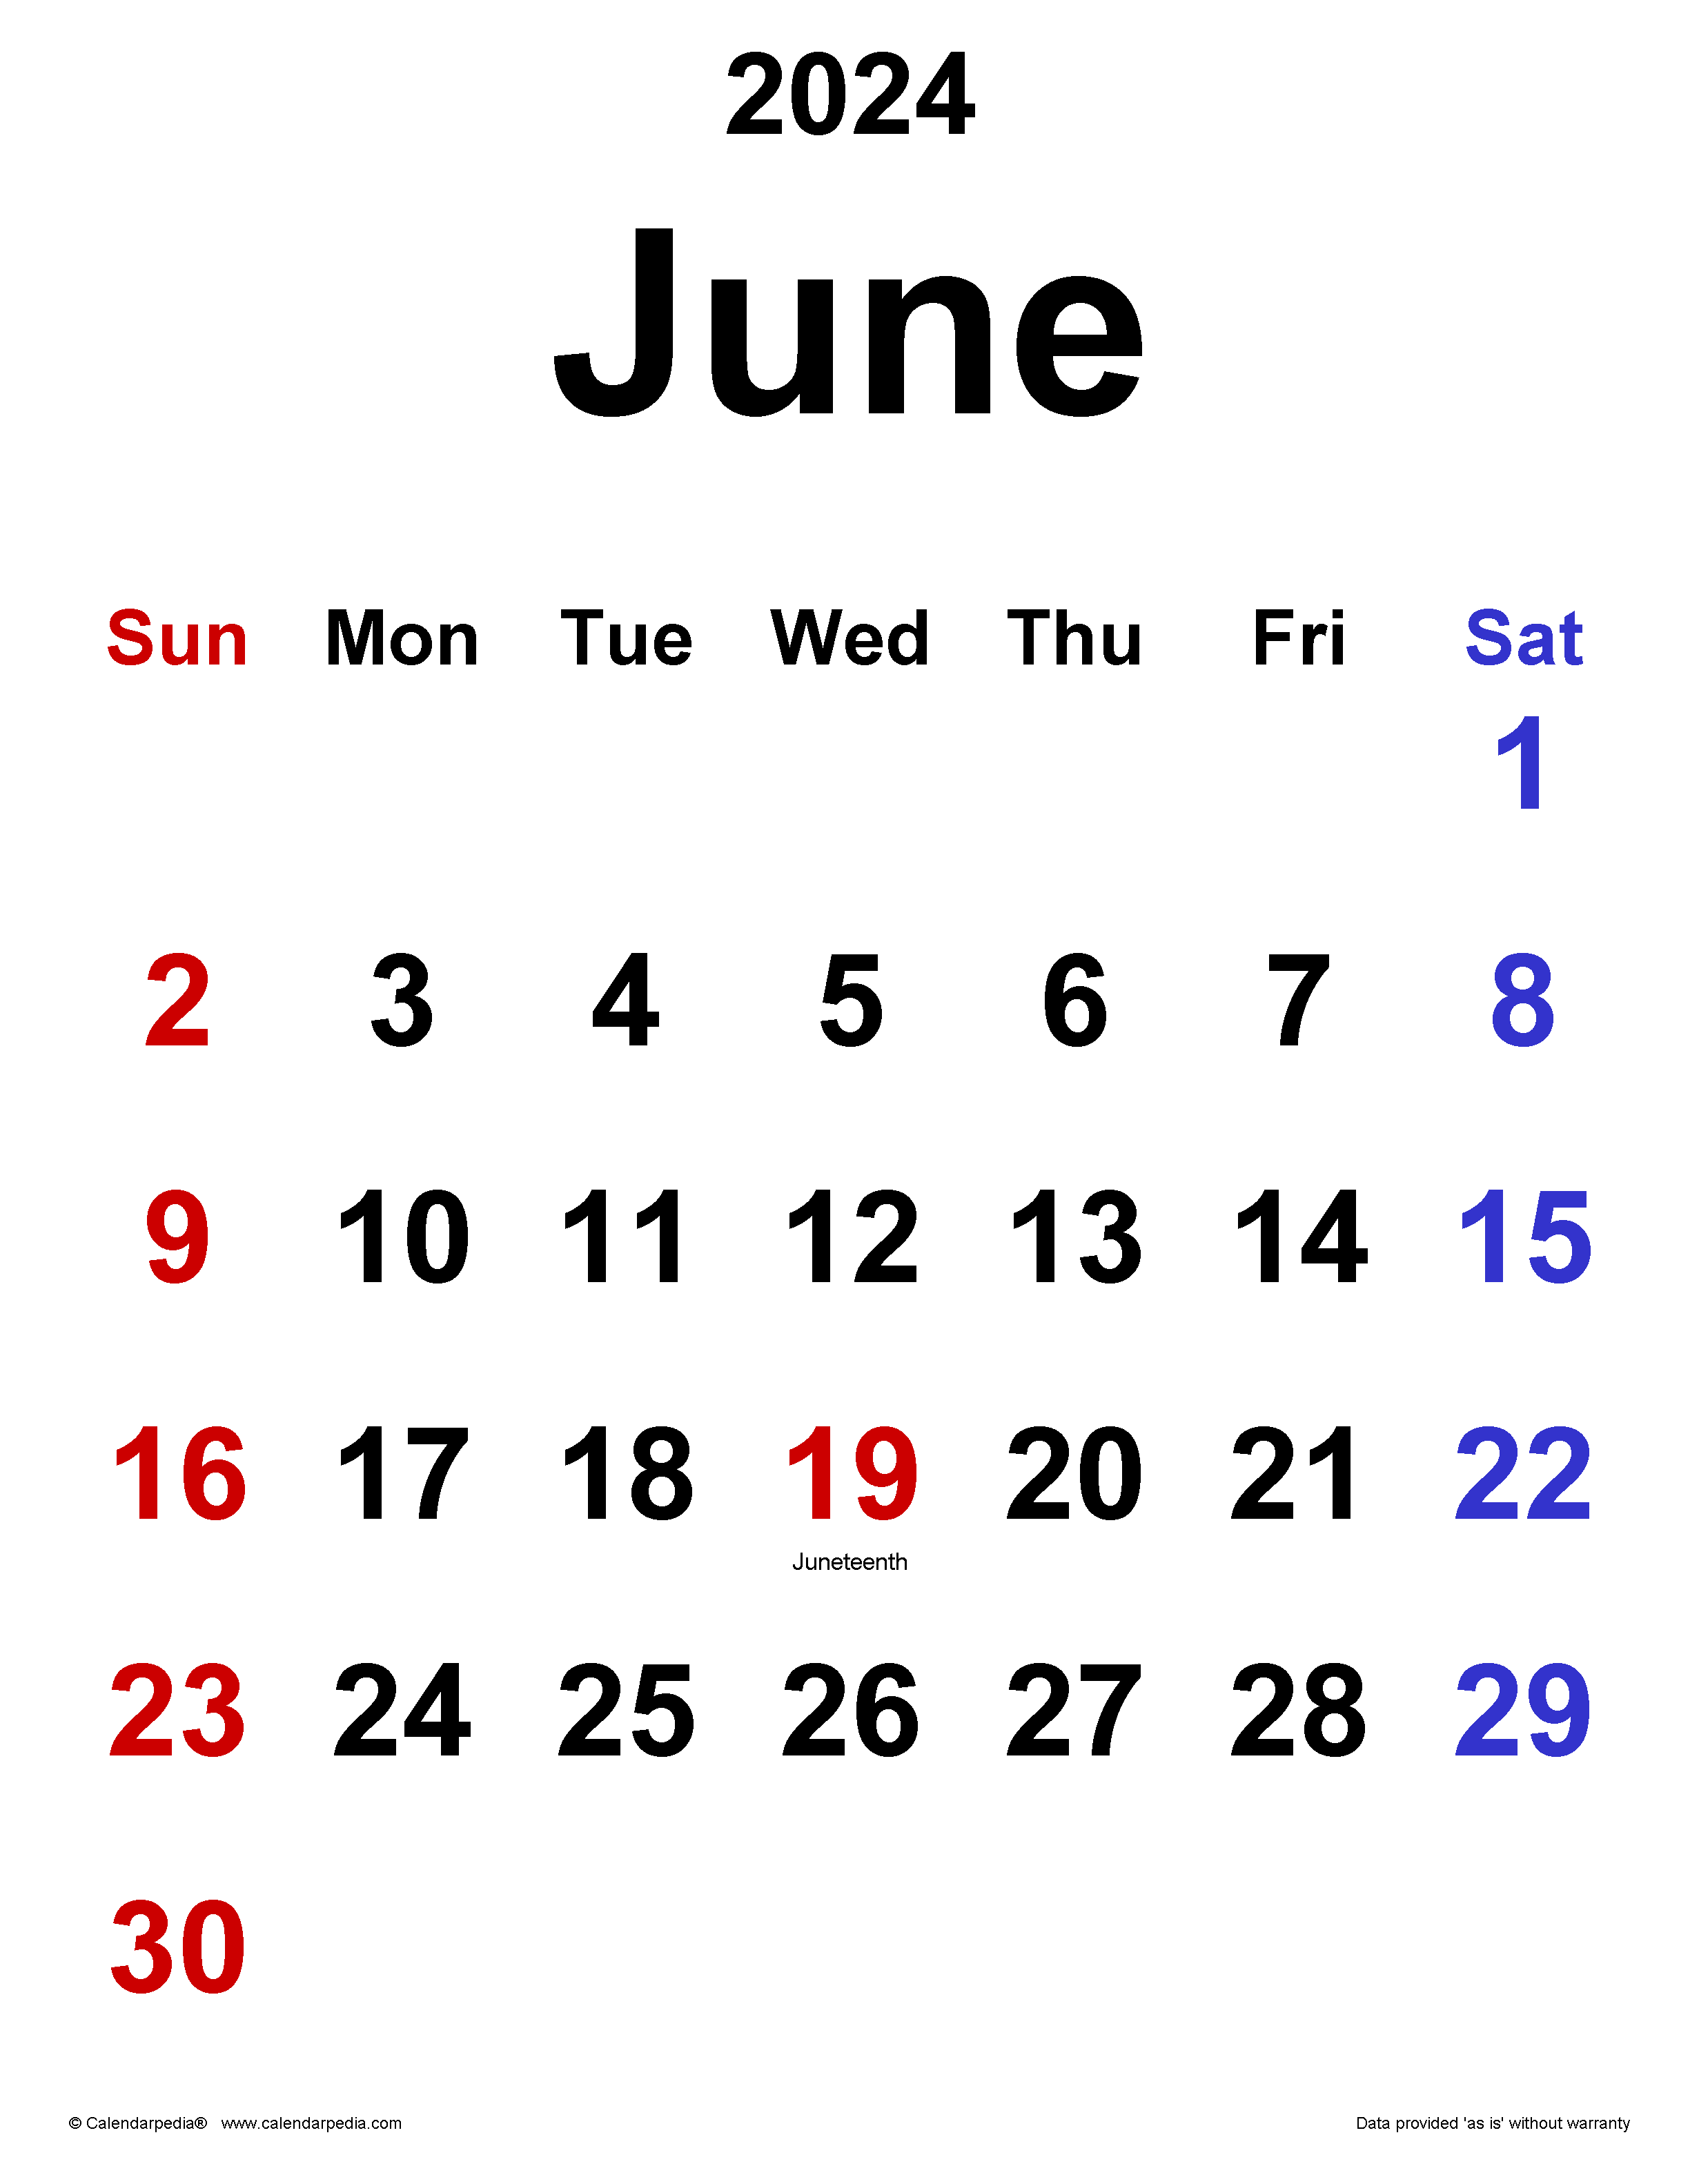
Calendar for June 2024 in Excel: A Comprehensive Guide
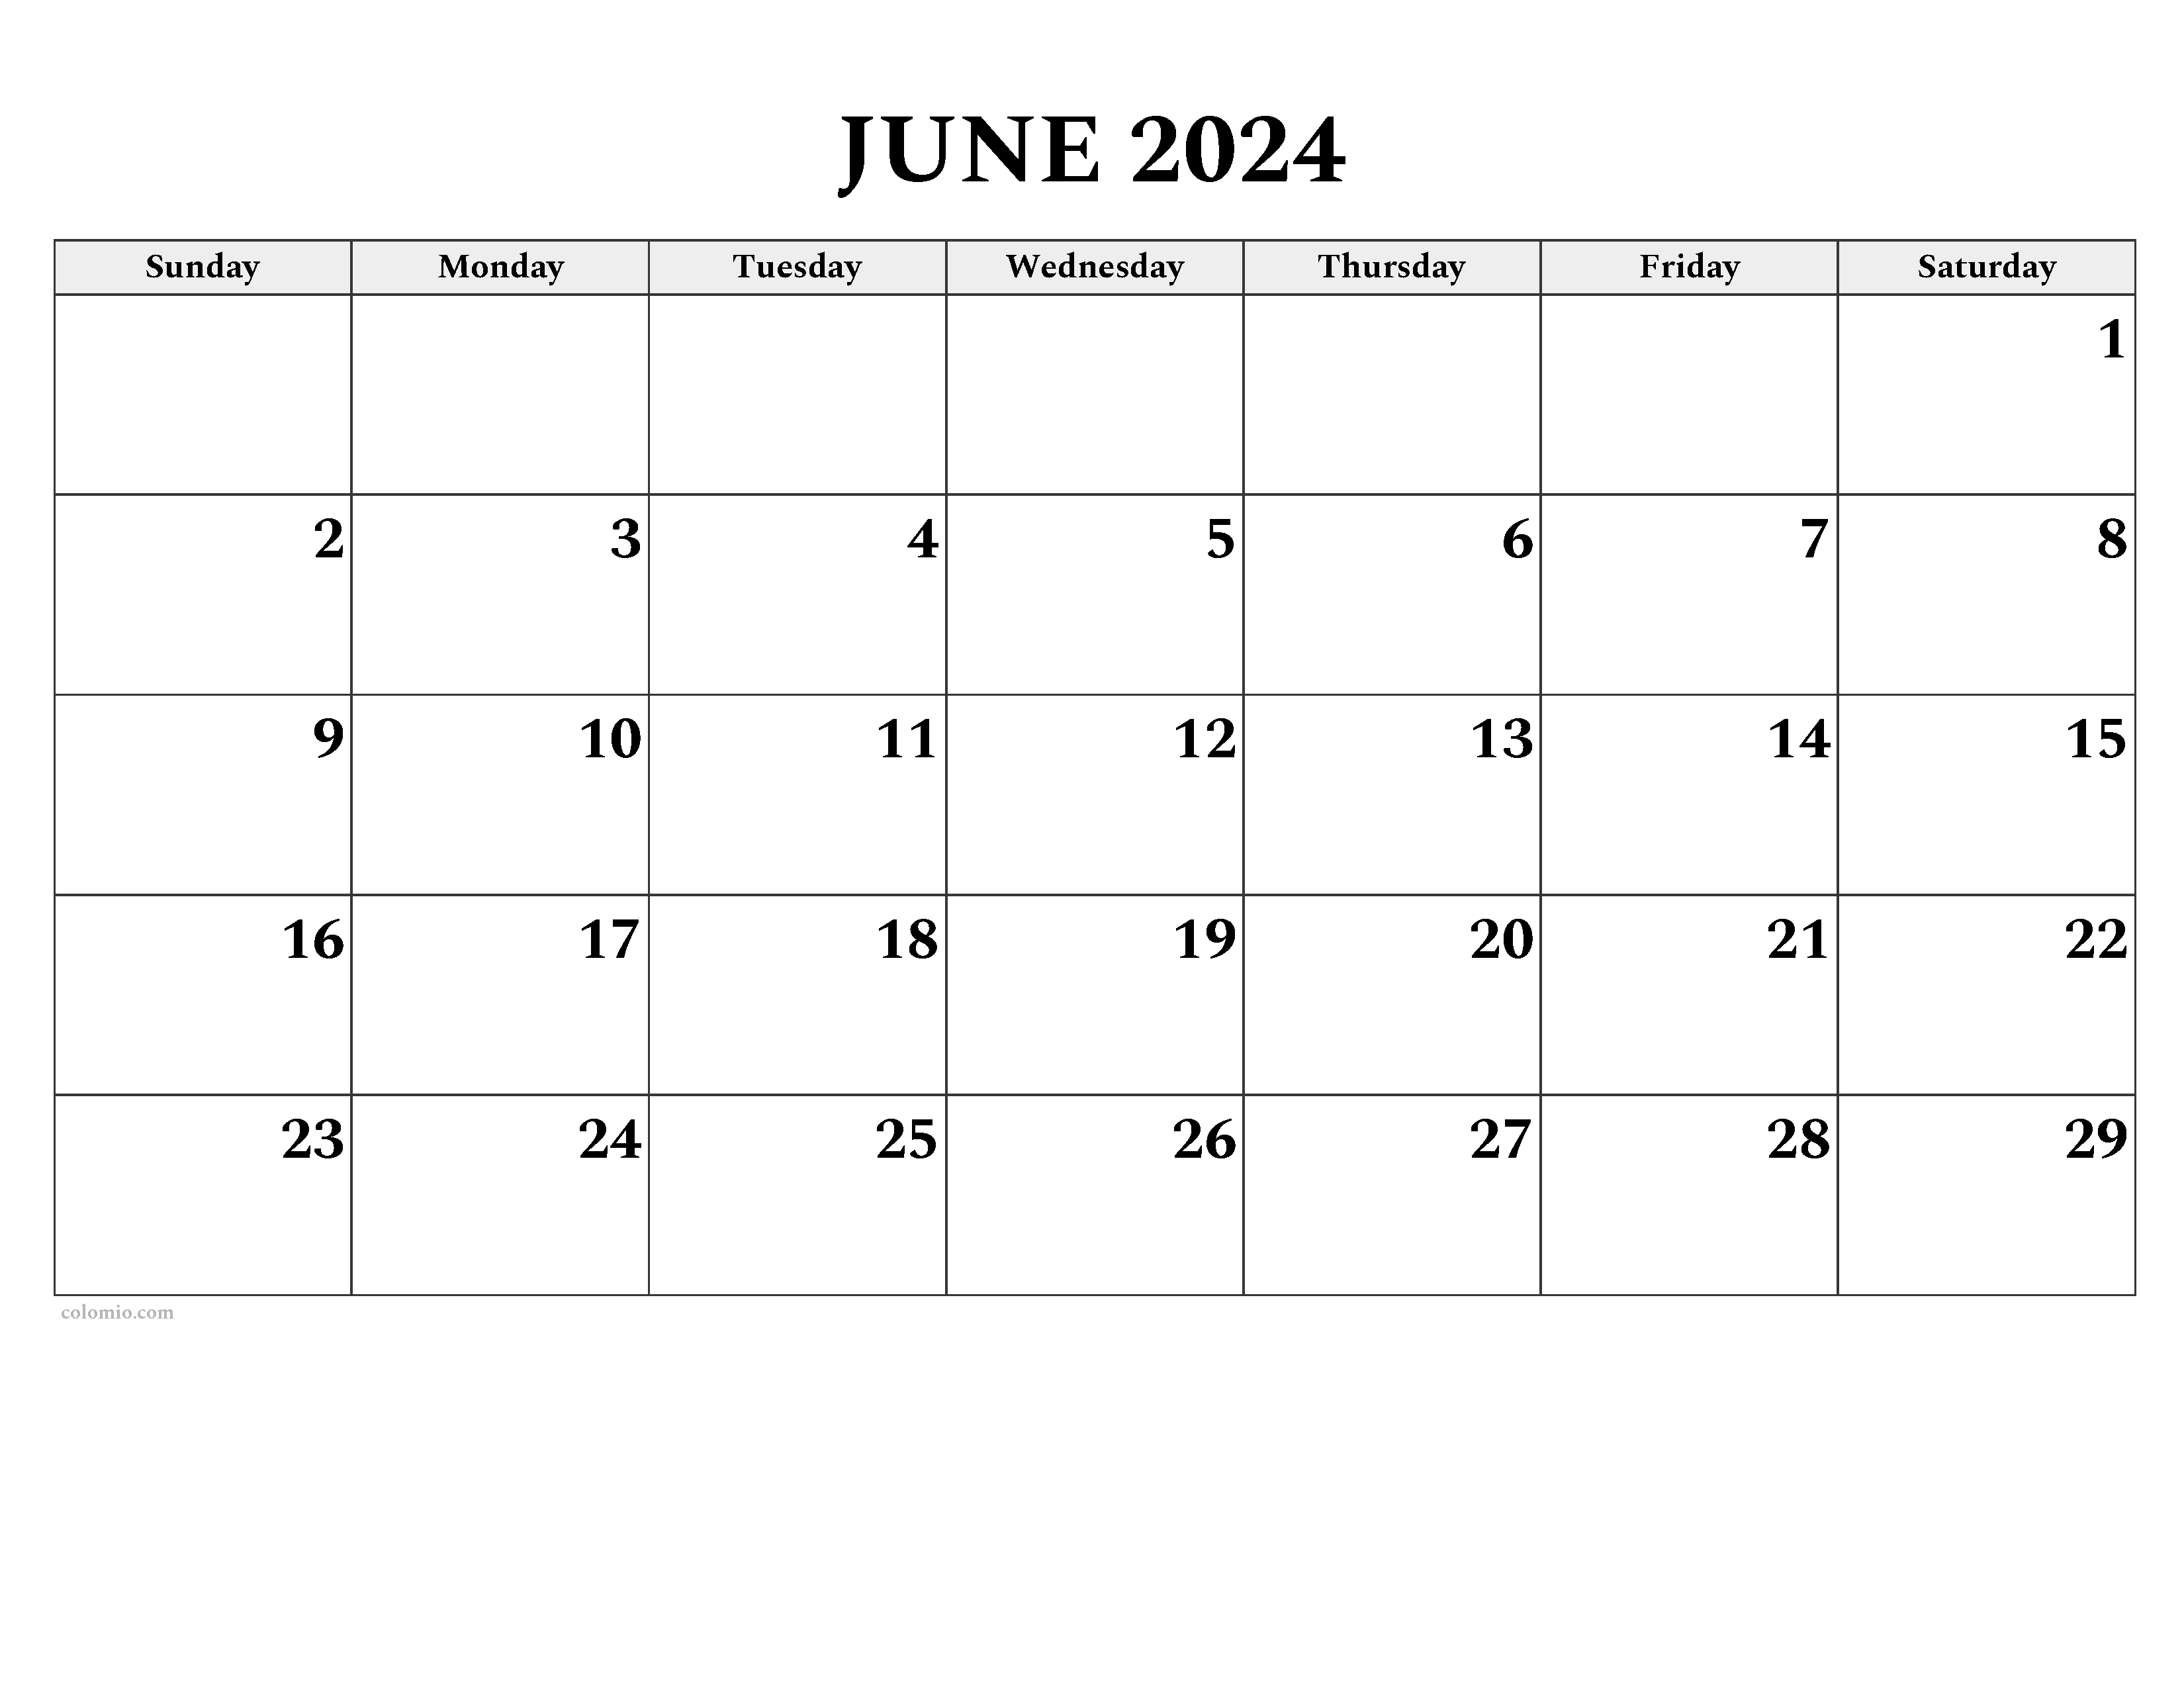
Microsoft Excel is a versatile spreadsheet software that offers a wide range of features and functions, including the ability to create and customize calendars. A calendar can be a useful tool for planning and scheduling tasks, events, and appointments. In this article, we will show you how to create a calendar for June 2024 in Excel.
Creating a New Calendar
- Open Microsoft Excel and click on the "File" tab.
- Click on "New" and then select "Blank workbook" from the list of templates.
- A new blank workbook will be created. Click on the "Insert" tab.
- In the "Tables" group, click on the "Calendar" button.
- A drop-down menu will appear. Select the "June 2024" option.
Customizing the Calendar
Once you have created a new calendar, you can customize it to meet your specific needs.
-
Changing the start day of the week: By default, the calendar will start on Sunday. To change the start day of the week, click on the "Page Layout" tab.
-
**In the "Page Setup" group, click on the "Orientation" drop-down menu.
-
**Select the "Landscape" option.
-
**In the "Page Setup" group, click on the "Margins" button.
-
**In the "Margins" dialog box, click on the "Custom Margins" tab.
-
**In the "Left" box, enter the number of inches that you want to indent the calendar from the left margin.
-
**In the "Right" box, enter the number of inches that you want to indent the calendar from the right margin.
-
Click on the "OK" button to save your changes.
-
Changing the font and font size: To change the font and font size of the calendar, select the cells that you want to change.
-
**Click on the "Home" tab.
-
**In the "Font" group, click on the "Font" drop-down menu.
-
**Select the font that you want to use.
-
**In the "Font" group, click on the "Font Size" drop-down menu.
-
Select the font size that you want to use.
-
Adding events and appointments: To add events and appointments to the calendar, simply click on the cell that corresponds to the date of the event or appointment.
-
**A text box will appear. Enter the details of the event or appointment.
-
**To format the text in the text box, select the text and then click on the "Home" tab.
-
In the "Font" group, you can change the font, font size, and font color.
Saving the Calendar
Once you have finished creating and customizing your calendar, you can save it to your computer.
- **Click on the "File" tab.
- **Click on "Save As."
- **In the "Save As" dialog box, navigate to the location where you want to save the file.
- **In the "File name" box, enter a name for the file.
- *In the "Save as type" drop-down menu, select the "Excel Workbook (.xlsx)" option.
- Click on the "Save" button to save the file.
Conclusion
Creating a calendar in Excel is a quick and easy way to plan and schedule tasks, events, and appointments. By following the steps outlined in this article, you can create a customized calendar that meets your specific needs.
Closure
Thus, we hope this article has provided valuable insights into Calendar for June 2024 in Excel: A Comprehensive Guide. We hope you find this article informative and beneficial. See you in our next article!