Free June 2024 Calendar Excel: A Comprehensive Guide to Planning and Organization
Related Articles: Free June 2024 Calendar Excel: A Comprehensive Guide to Planning and Organization
- Free June 2024 Calendar Blank: Stay Organized And Productive
- Fiscal Year Calendar: July 2024 To June 2025
- Due June 25, 2024: A Comprehensive Baby Calendar
- April 2024
- April 2024
Introduction
In this auspicious occasion, we are delighted to delve into the intriguing topic related to Free June 2024 Calendar Excel: A Comprehensive Guide to Planning and Organization. Let’s weave interesting information and offer fresh perspectives to the readers.
Table of Content
Video about Free June 2024 Calendar Excel: A Comprehensive Guide to Planning and Organization
Free June 2024 Calendar Excel: A Comprehensive Guide to Planning and Organization
Introduction
In the fast-paced world we live in, staying organized and planning effectively are crucial for success. Calendars play a vital role in managing our time, scheduling appointments, and keeping track of important events. With the advent of digital technology, Excel has emerged as a powerful tool for creating and customizing calendars that meet our specific needs.
This comprehensive guide will provide you with everything you need to know about creating a free June 2024 calendar in Excel. We will delve into the step-by-step process, explore advanced features, and offer tips for effective calendar management. Whether you’re a seasoned Excel user or just getting started, this guide will empower you to create a personalized calendar that enhances your productivity and organization.
Step 1: Open a New Excel Workbook
Begin by opening a new Excel workbook. You can do this by clicking on the "File" tab in the top left corner of the screen and selecting "New" from the dropdown menu. Alternatively, you can use the keyboard shortcut "Ctrl + N" (Windows) or "Command + N" (Mac).
Step 2: Set Up the Calendar Layout
To create a calendar layout, you will need to set up the days of the week and the dates. Follow these steps:
-
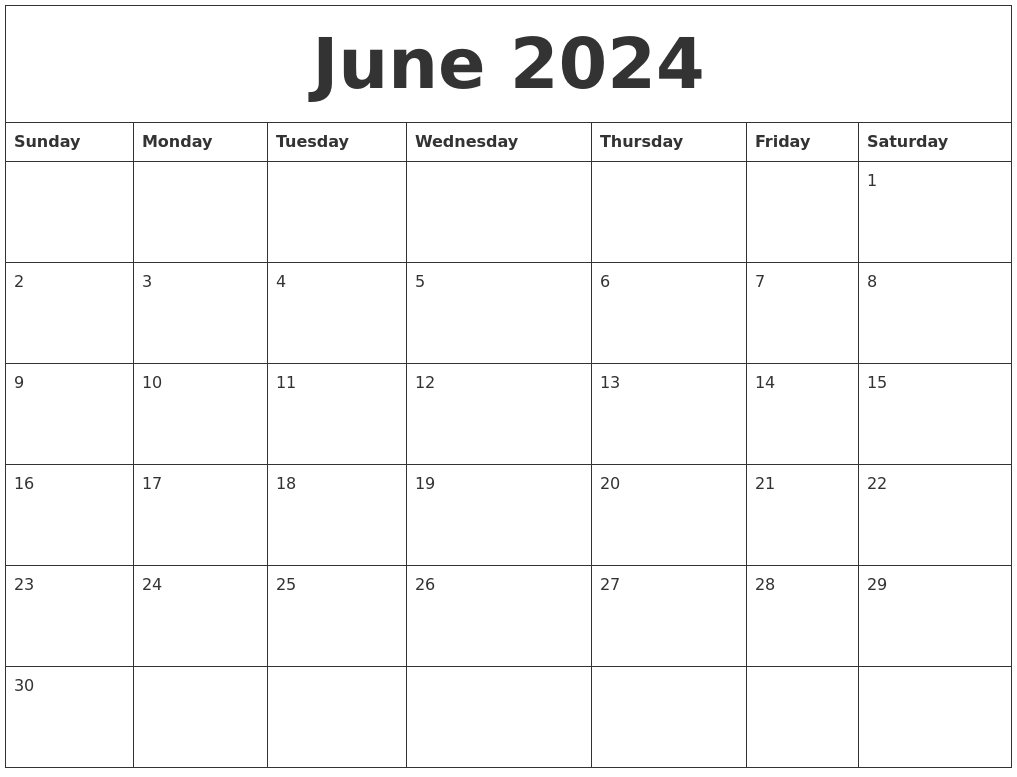
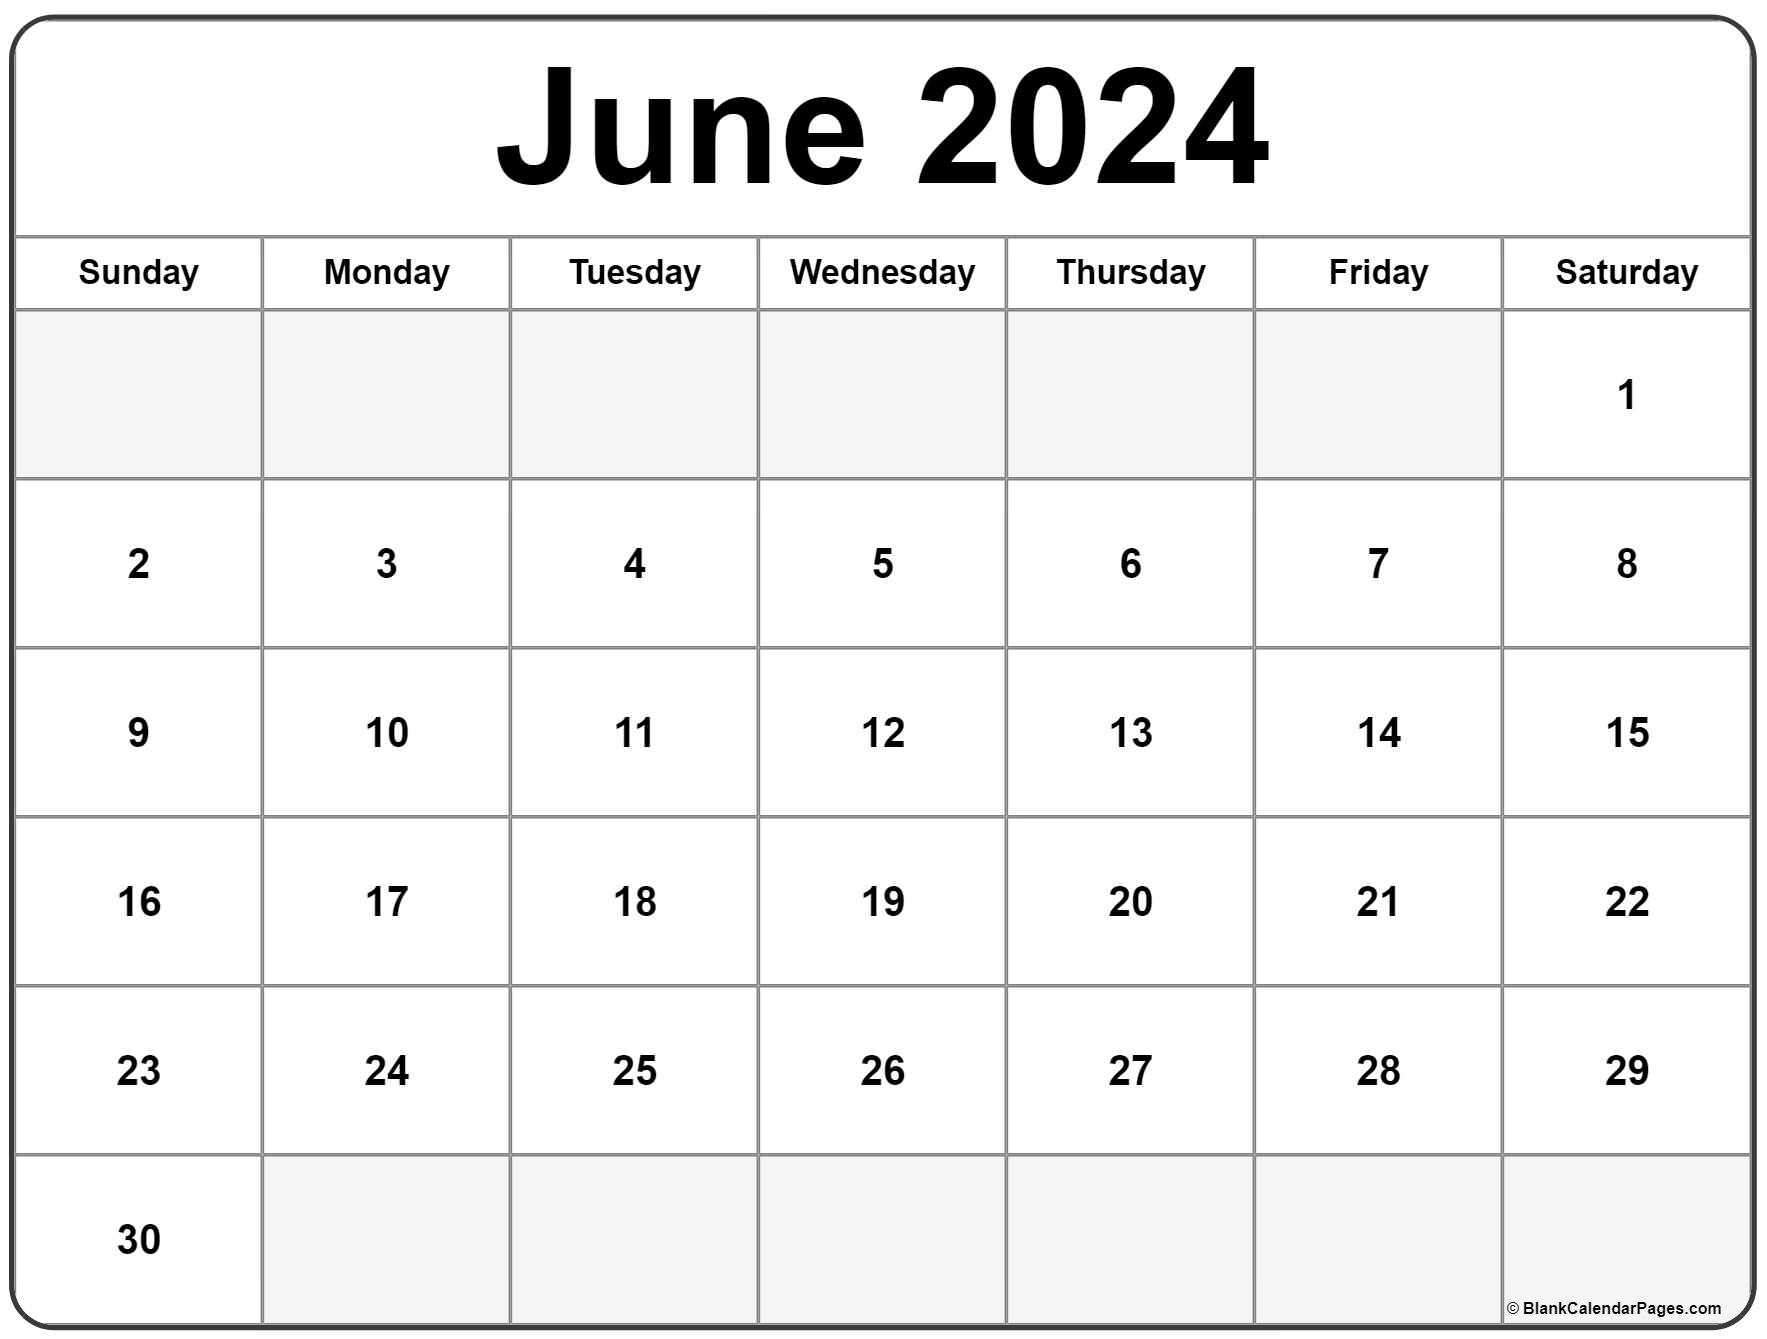
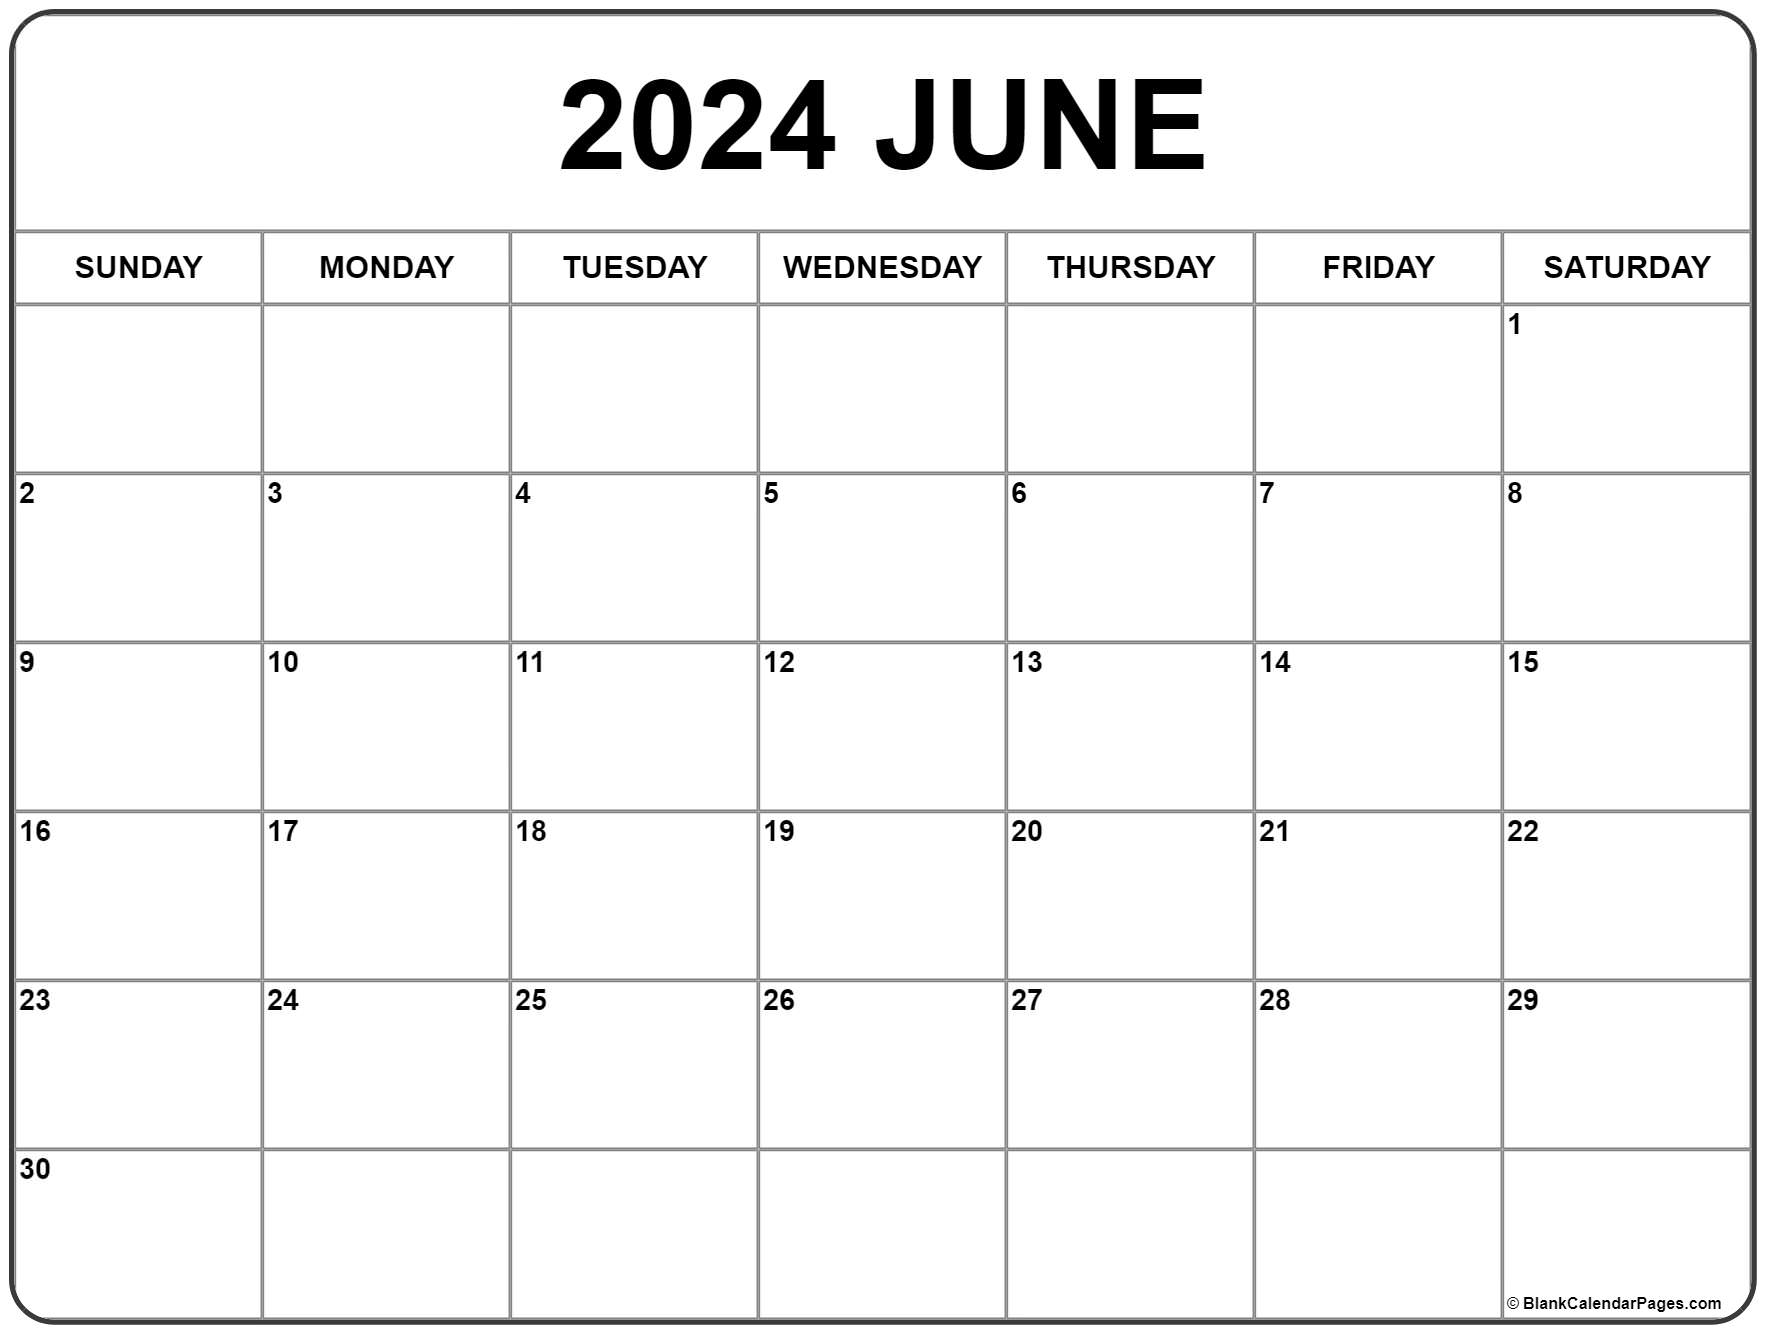
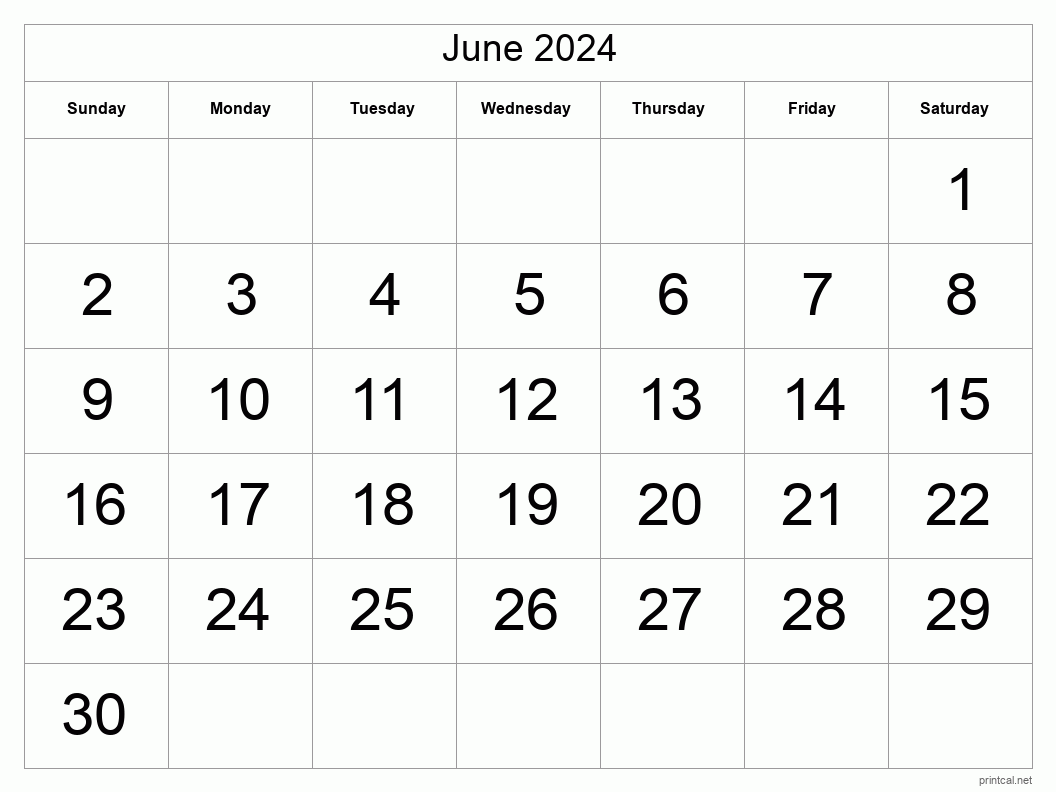
Enter the Days of the Week: In the first row of the worksheet, type the days of the week, starting with Sunday and ending with Saturday. For example, in cell A1, type "Sunday," in cell B1, type "Monday," and so on.
-
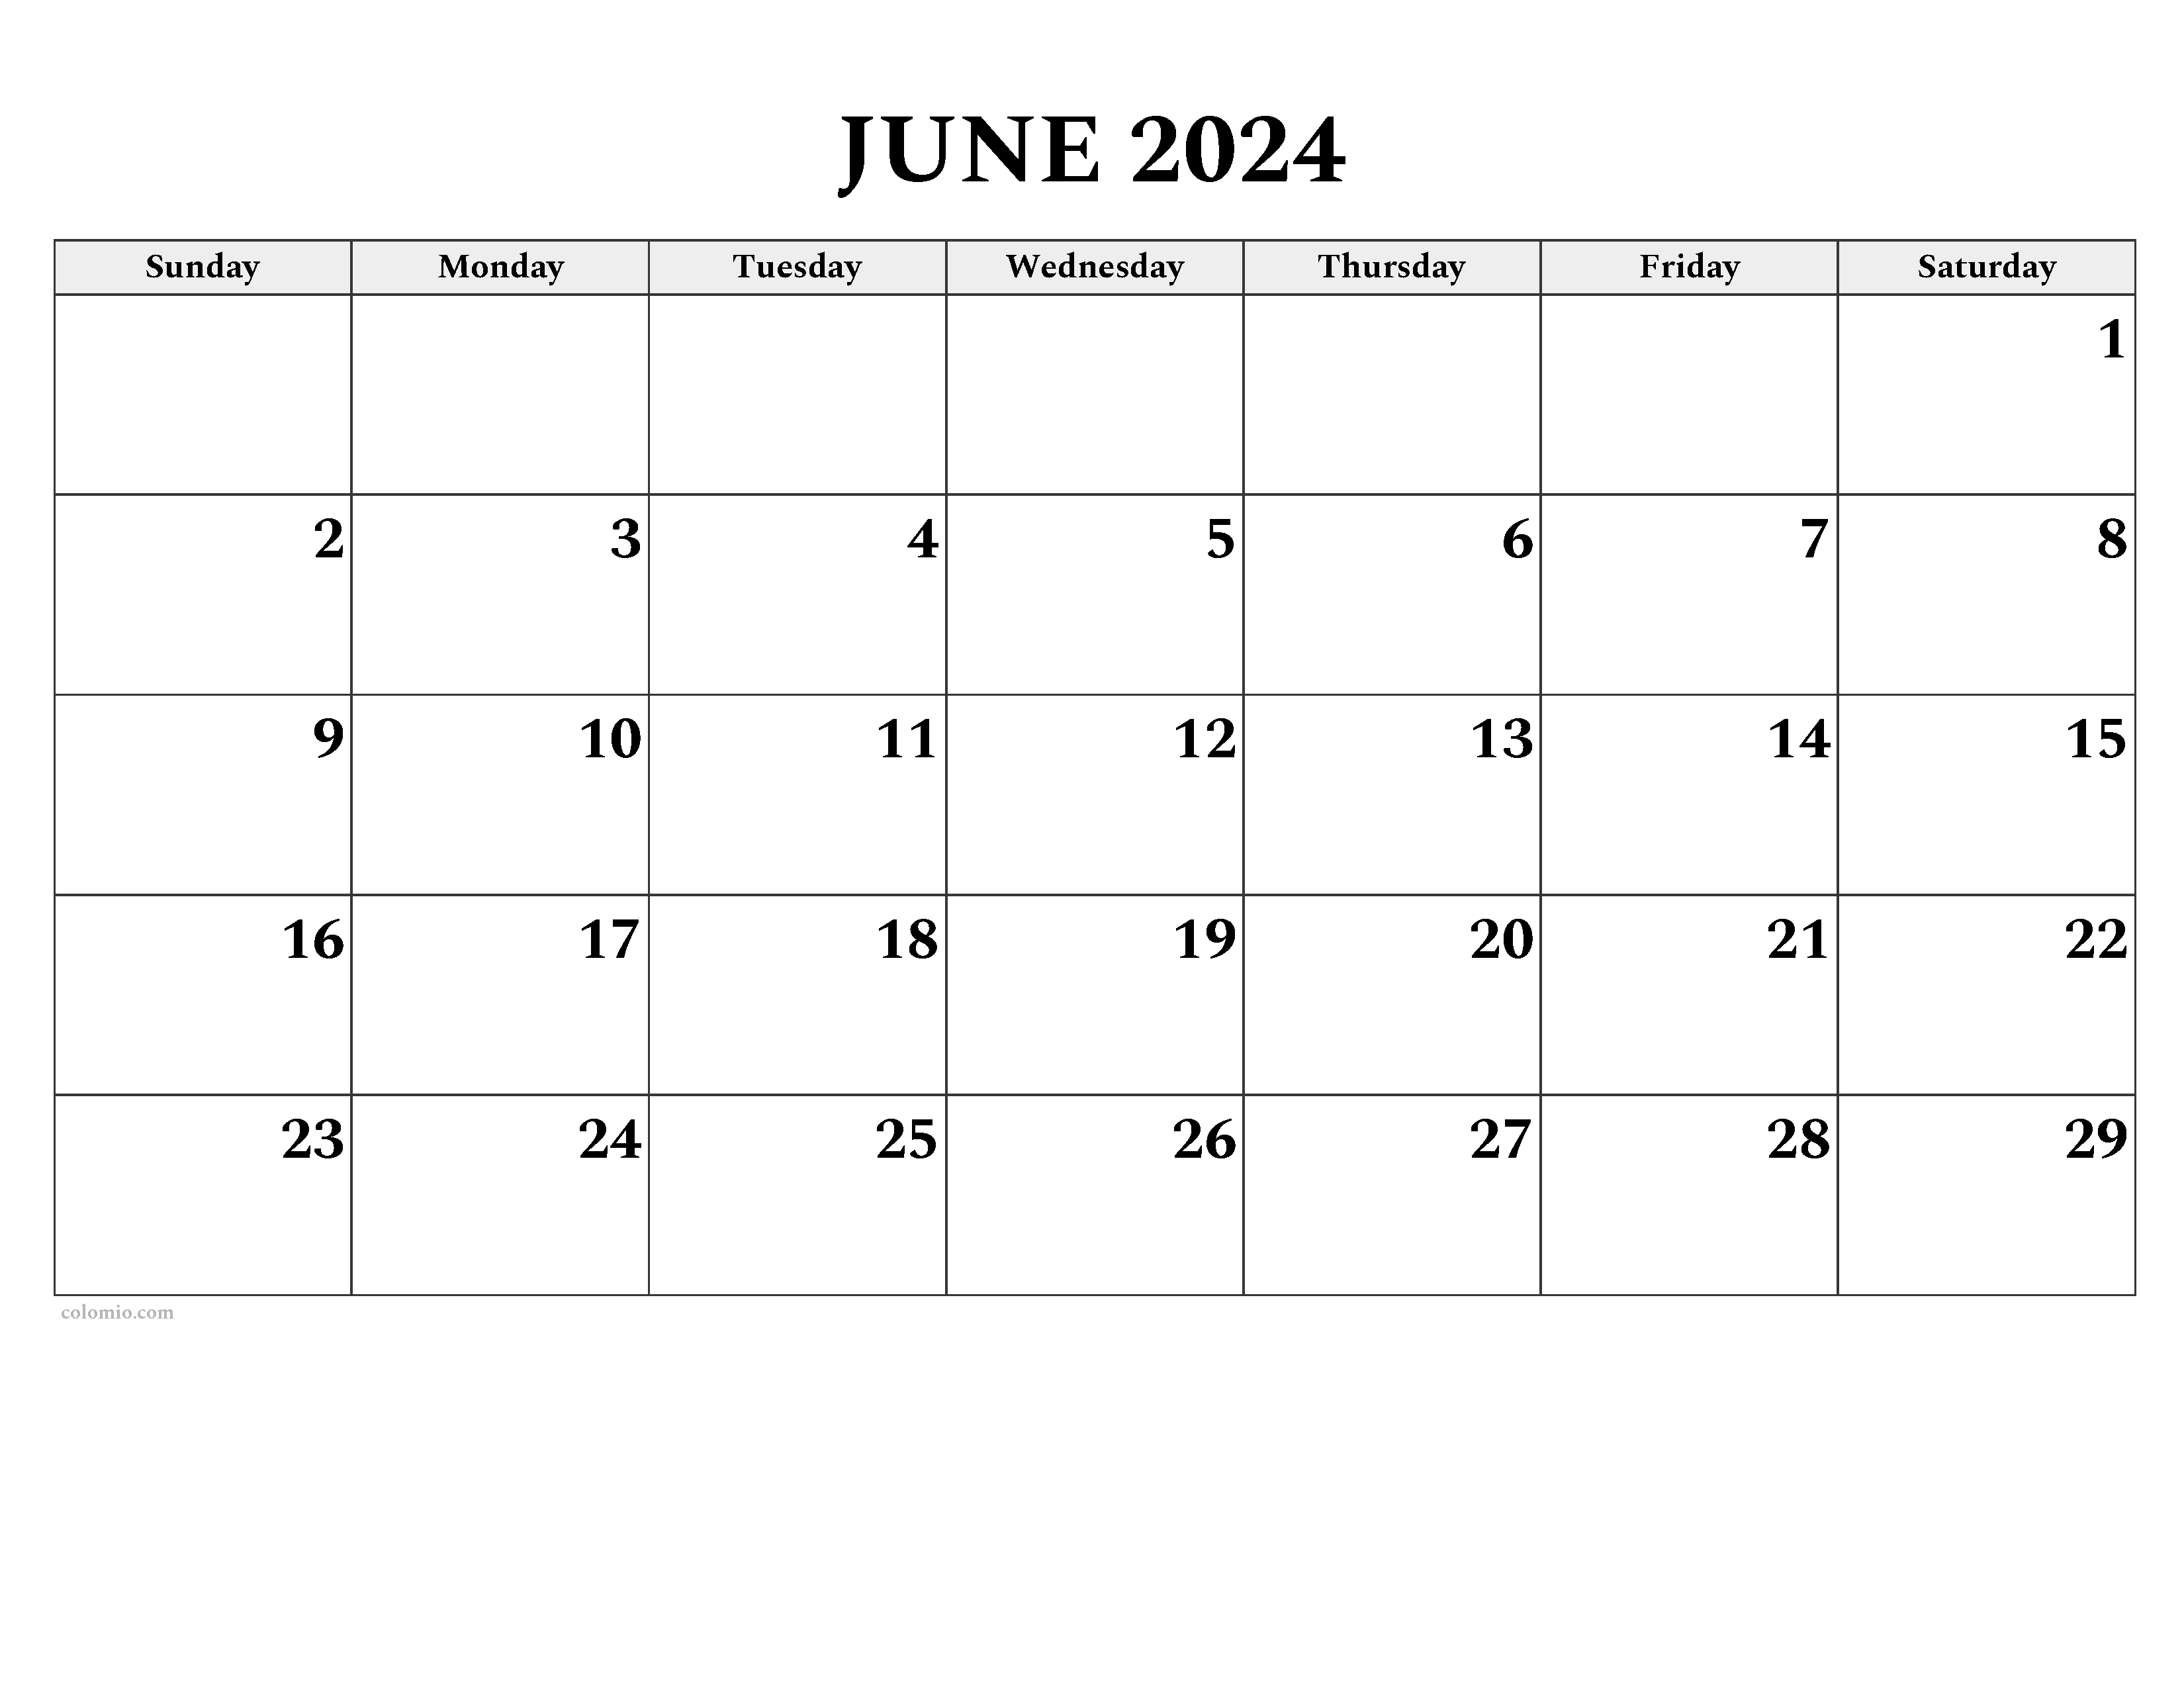
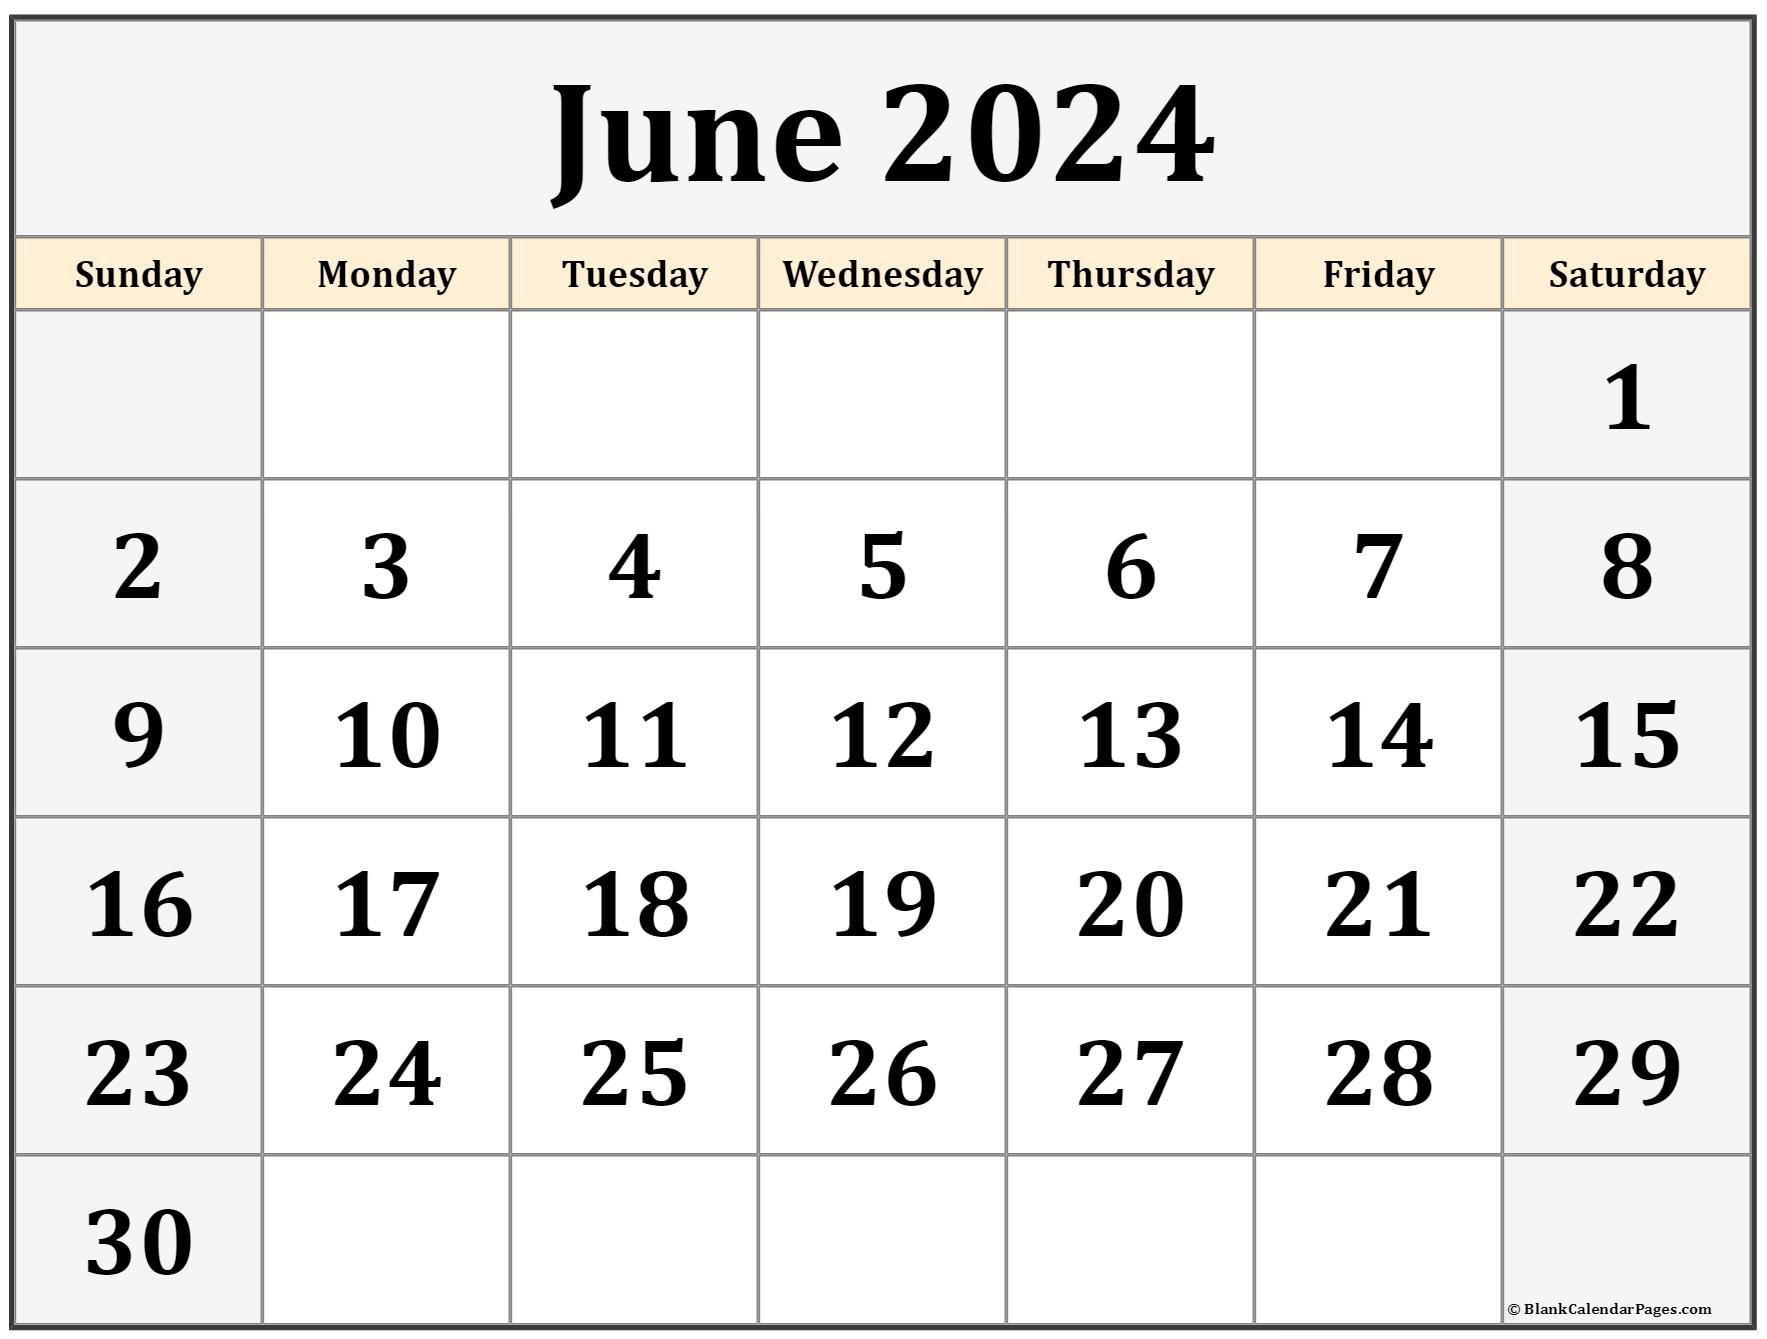
Enter the Dates: In the first column of the worksheet, type the dates for the month of June 2024. Start with June 1st in cell A2 and continue until June 30th in cell A31.
-
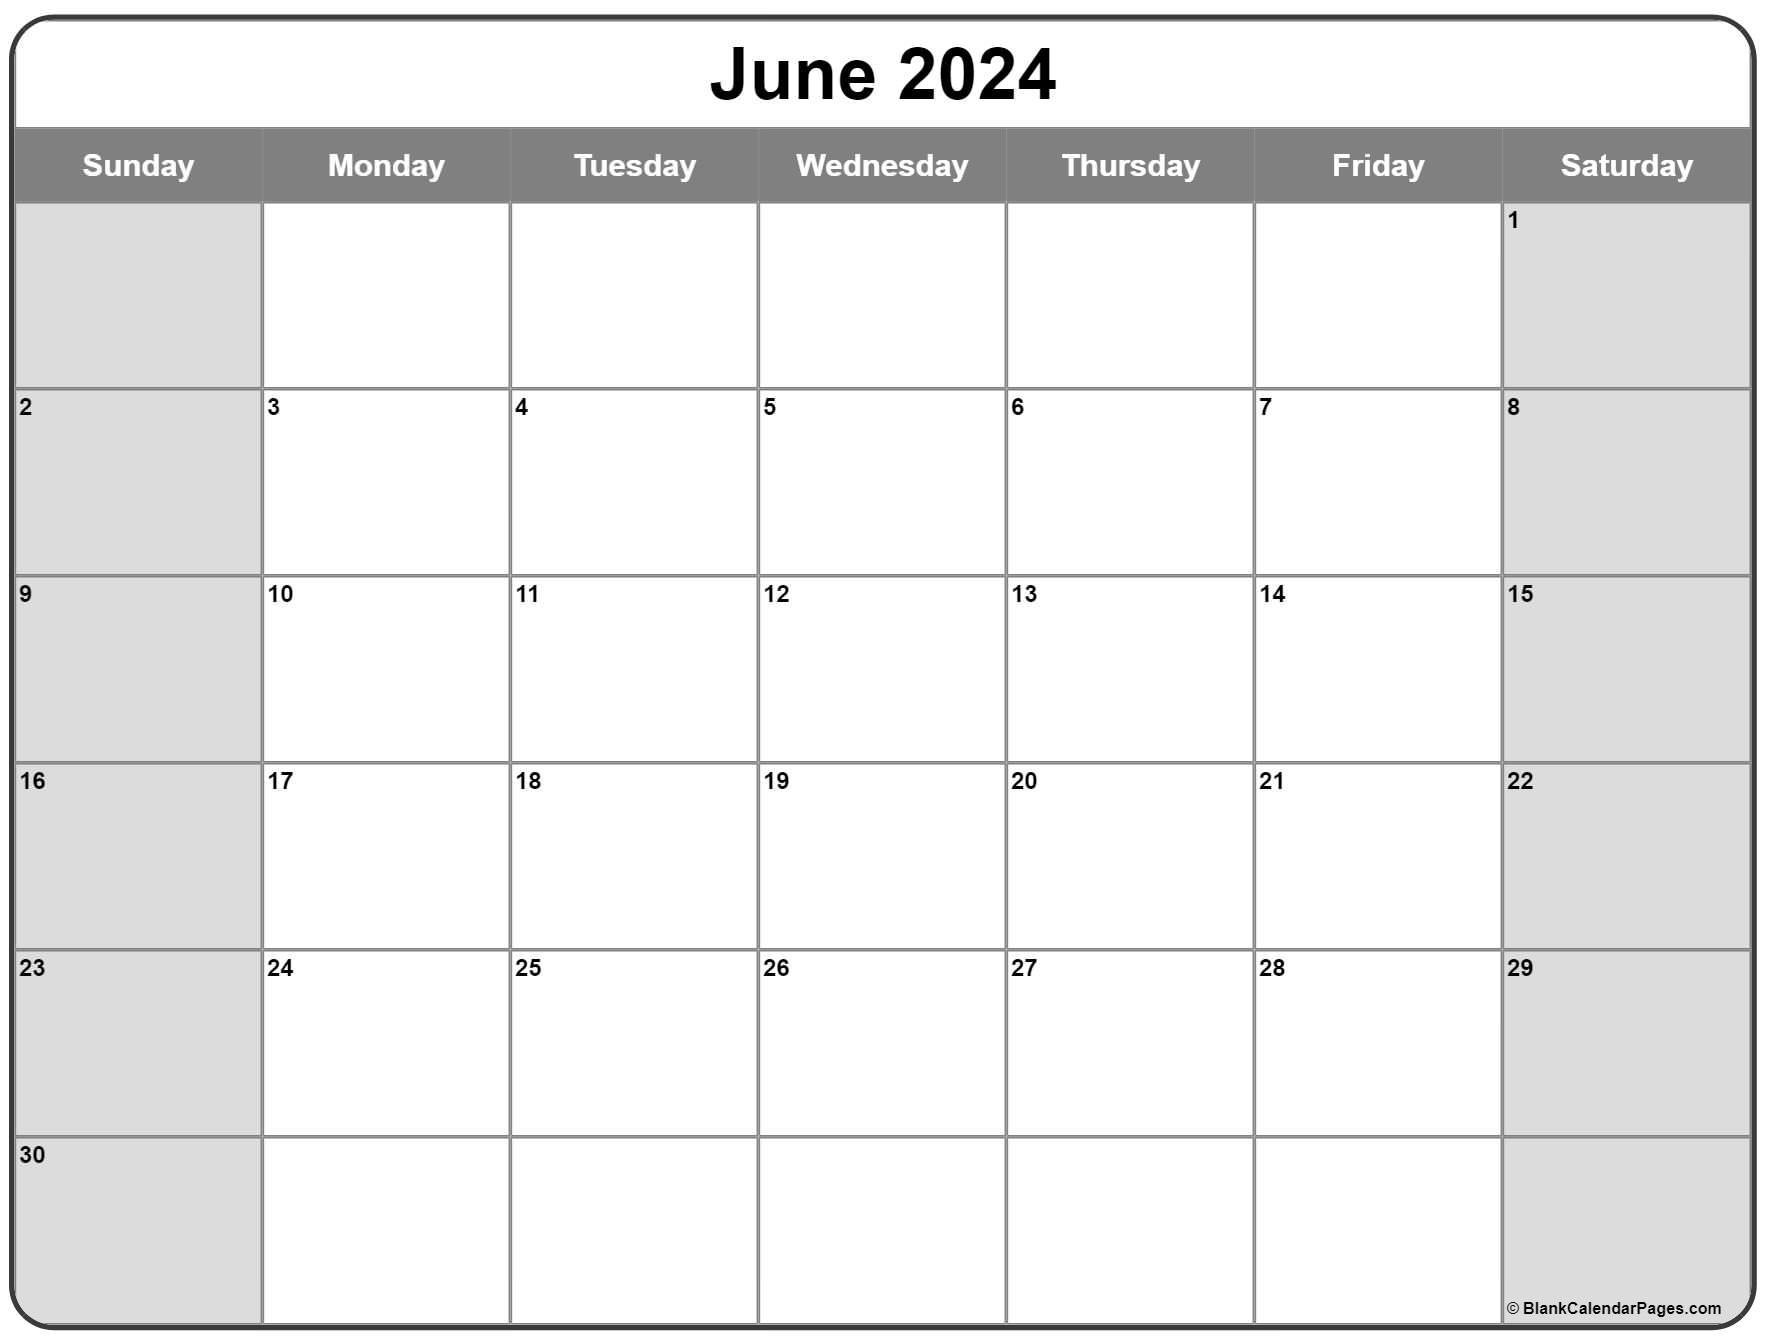
Format the Calendar: Select the entire calendar range (cells A1:G31) and apply a border style to outline the calendar. You can also merge the cells in the first row (A1:G1) to create a header for the calendar.
Step 3: Customize Your Calendar
Now that you have the basic calendar layout, you can customize it to meet your specific needs. Here are some tips:
-
Add Colors: Use different colors to highlight important dates, events, or categories. Select the cells you want to color and click on the "Fill" button in the "Home" tab. Choose a color from the palette or create a custom color.
-
Insert Images: You can insert images into your calendar to add visual interest or mark special occasions. Click on the "Insert" tab and select "Pictures." Browse your computer to find the image you want to insert.
-
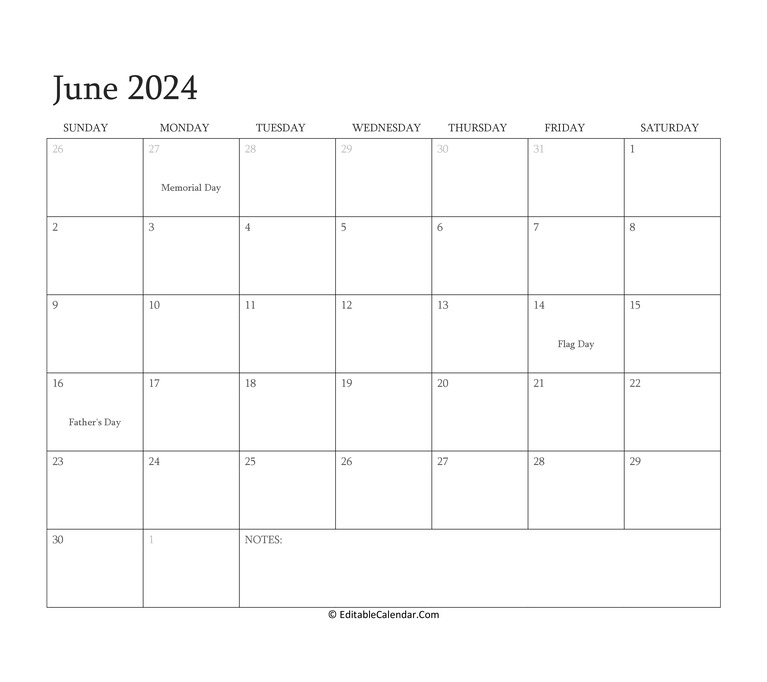
Add Notes: To add notes or reminders to specific dates, simply type the notes in the corresponding cells. You can use different fonts, colors, or bolding to make the notes stand out.
Step 4: Create a Calendar Template
Once you have created a customized calendar, you can save it as a template for future use. This will save you time and effort in creating calendars for other months or years. To create a template:
-
Save the Workbook: Click on the "File" tab and select "Save As." Choose a location to save the workbook and give it a descriptive name.
-
Create a Template: Click on the "File" tab again and select "Save As." This time, select "Excel Template (*.xltx)" as the file type. Save the template in a location where you can easily access it.
Step 5: Advanced Features
Excel offers advanced features that can enhance the functionality of your calendar. Here are a few examples:
-
Conditional Formatting: Use conditional formatting to automatically highlight cells that meet certain criteria, such as dates that fall on a weekend or appointments that exceed a certain time limit.
-
Formulas: Use formulas to calculate dates, such as the number of days between two appointments or the week number of a specific date.
-
PivotTables: Create pivot tables to summarize and analyze your calendar data, such as the number of appointments per month or the average duration of meetings.
Tips for Effective Calendar Management
To get the most out of your calendar, follow these tips:
-
Schedule Regularly: Set aside specific times in your calendar for regular tasks, such as checking email, attending meetings, or working on projects.
-
Prioritize Tasks: Use different colors or categories to prioritize appointments and tasks. Focus on completing the most important tasks first.
-
Review and Adjust: Regularly review your calendar and make adjustments as needed. Reschedule or cancel appointments that are no longer relevant or move tasks to a more appropriate time slot.
Conclusion
Creating and using a free June 2024 calendar in Excel is a valuable tool for planning, organization, and productivity. By following the steps outlined in this guide, you can create a customized calendar that meets your specific needs. Explore the advanced features and tips provided to enhance the functionality and effectiveness of your calendar management. Remember to regularly review and adjust your calendar to stay on top of your commitments and achieve your goals.
Closure
Thus, we hope this article has provided valuable insights into Free June 2024 Calendar Excel: A Comprehensive Guide to Planning and Organization. We thank you for taking the time to read this article. See you in our next article!