May-June 2024 Calendar Excel: A Comprehensive Guide for Planning and Organization
Related Articles: May-June 2024 Calendar Excel: A Comprehensive Guide for Planning and Organization
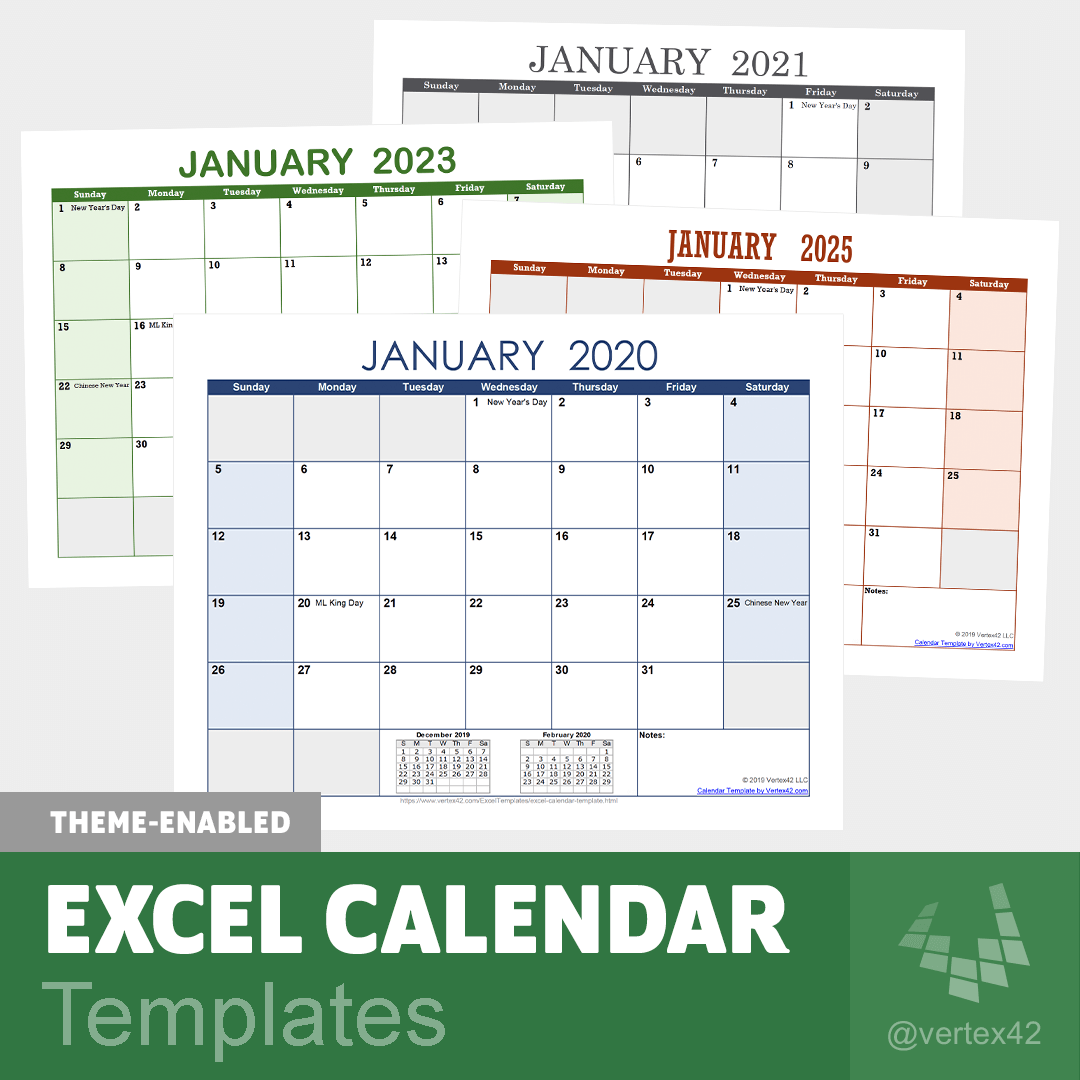
- June 2024 Calendar
- January 2024 – June 2024 Calendar
- June 2024 Calendar: A Comprehensive Portrait For Planning And Organization
- June 2024 Calendar: A Comprehensive Guide To Important Dates And Events
- Editable June 2024 Calendar Word: A Comprehensive Guide To Creating Your Own Customized Calendar
Introduction
In this auspicious occasion, we are delighted to delve into the intriguing topic related to May-June 2024 Calendar Excel: A Comprehensive Guide for Planning and Organization. Let’s weave interesting information and offer fresh perspectives to the readers.
Table of Content
Video about May-June 2024 Calendar Excel: A Comprehensive Guide for Planning and Organization
May-June 2024 Calendar Excel: A Comprehensive Guide for Planning and Organization
Introduction
In today’s fast-paced world, staying organized and managing time effectively are crucial for success. A calendar serves as an indispensable tool for planning, scheduling appointments, and tracking events. Microsoft Excel, a widely used spreadsheet software, offers a powerful and versatile platform for creating customized calendars that meet specific requirements. This article provides a comprehensive guide to creating a May-June 2024 calendar in Excel, empowering you to optimize your planning and organization efforts.
Step 1: Open a New Excel Workbook
Launch the Microsoft Excel application and create a new blank workbook. This will serve as the foundation for your May-June 2024 calendar.
Step 2: Set Up the Calendar Grid
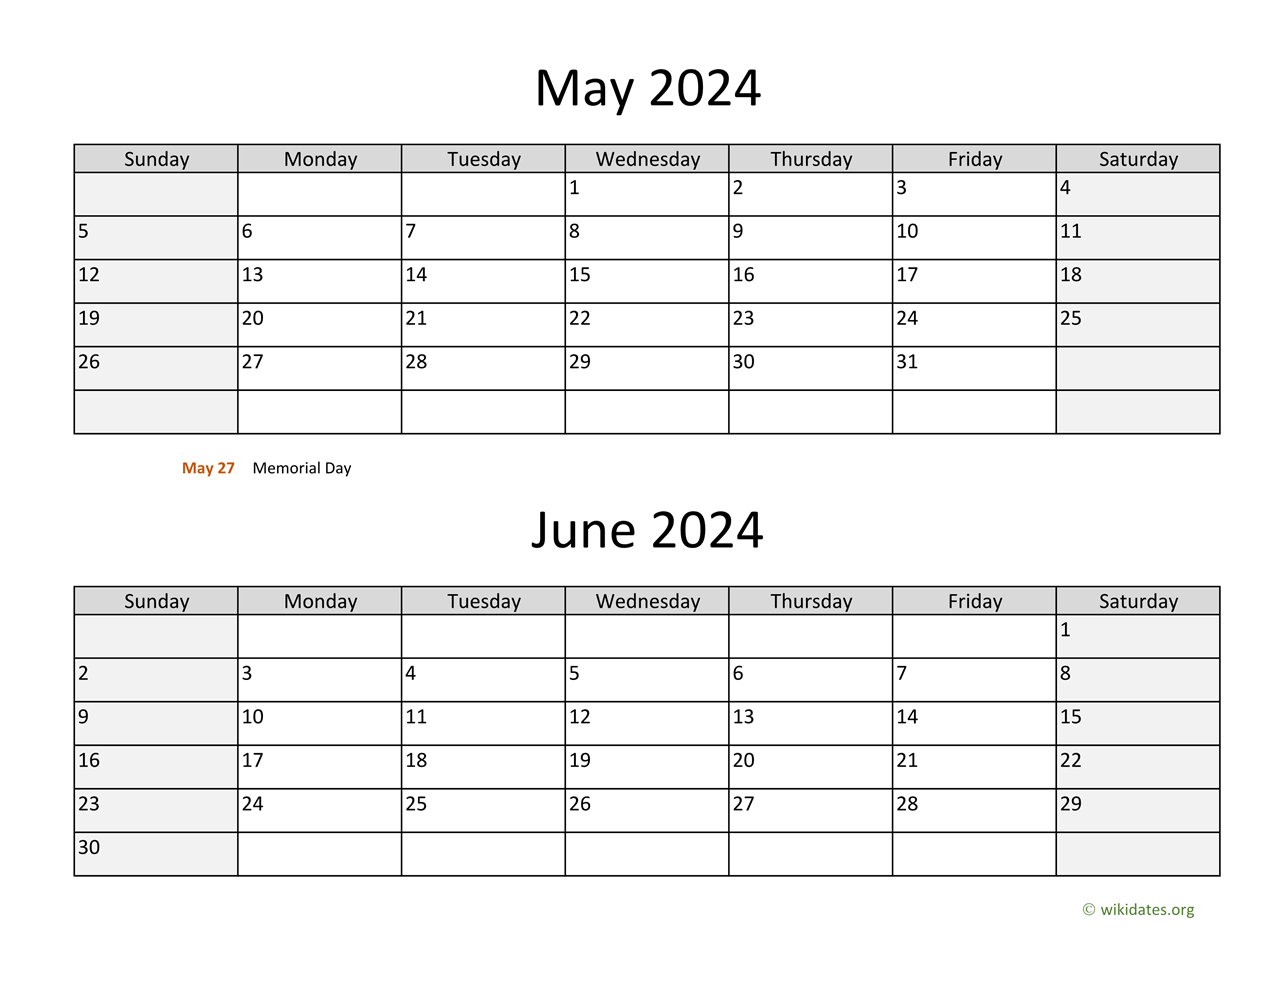
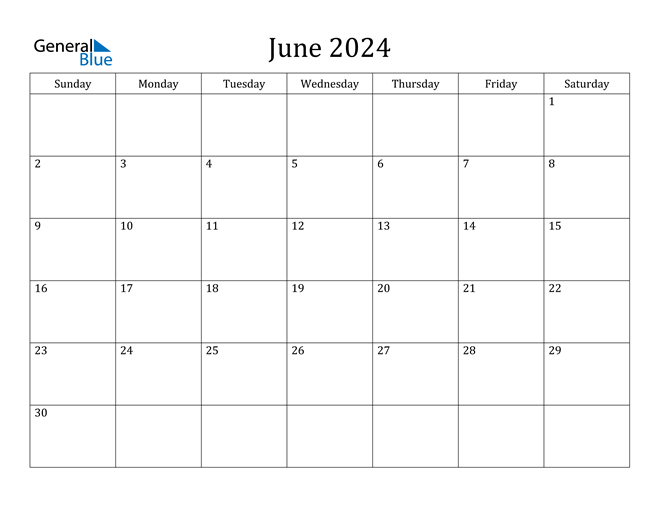
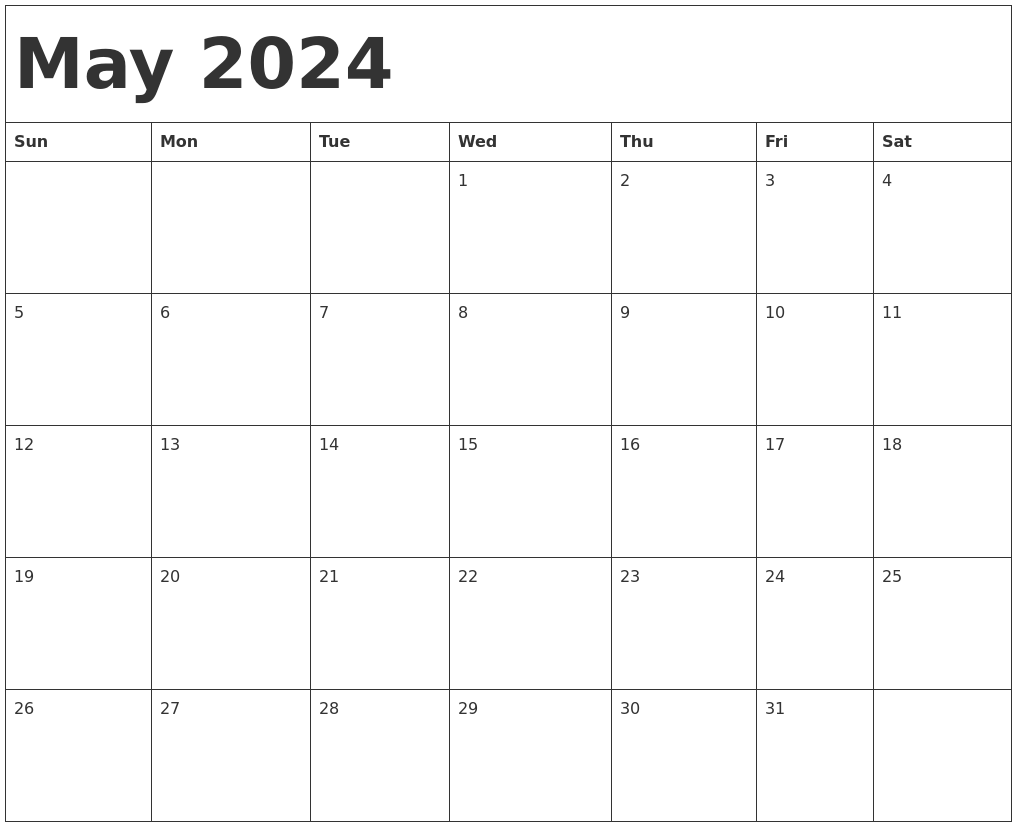
a) Insert the Days of the Week: In the first row of the spreadsheet, enter the days of the week as column headers. Start with "Sunday" in cell A1 and continue to "Saturday" in cell G1.
b) Create the Month Headers: In the second row of the spreadsheet, enter the month headers for May and June. Type "May" in cell A2 and "June" in cell H2.
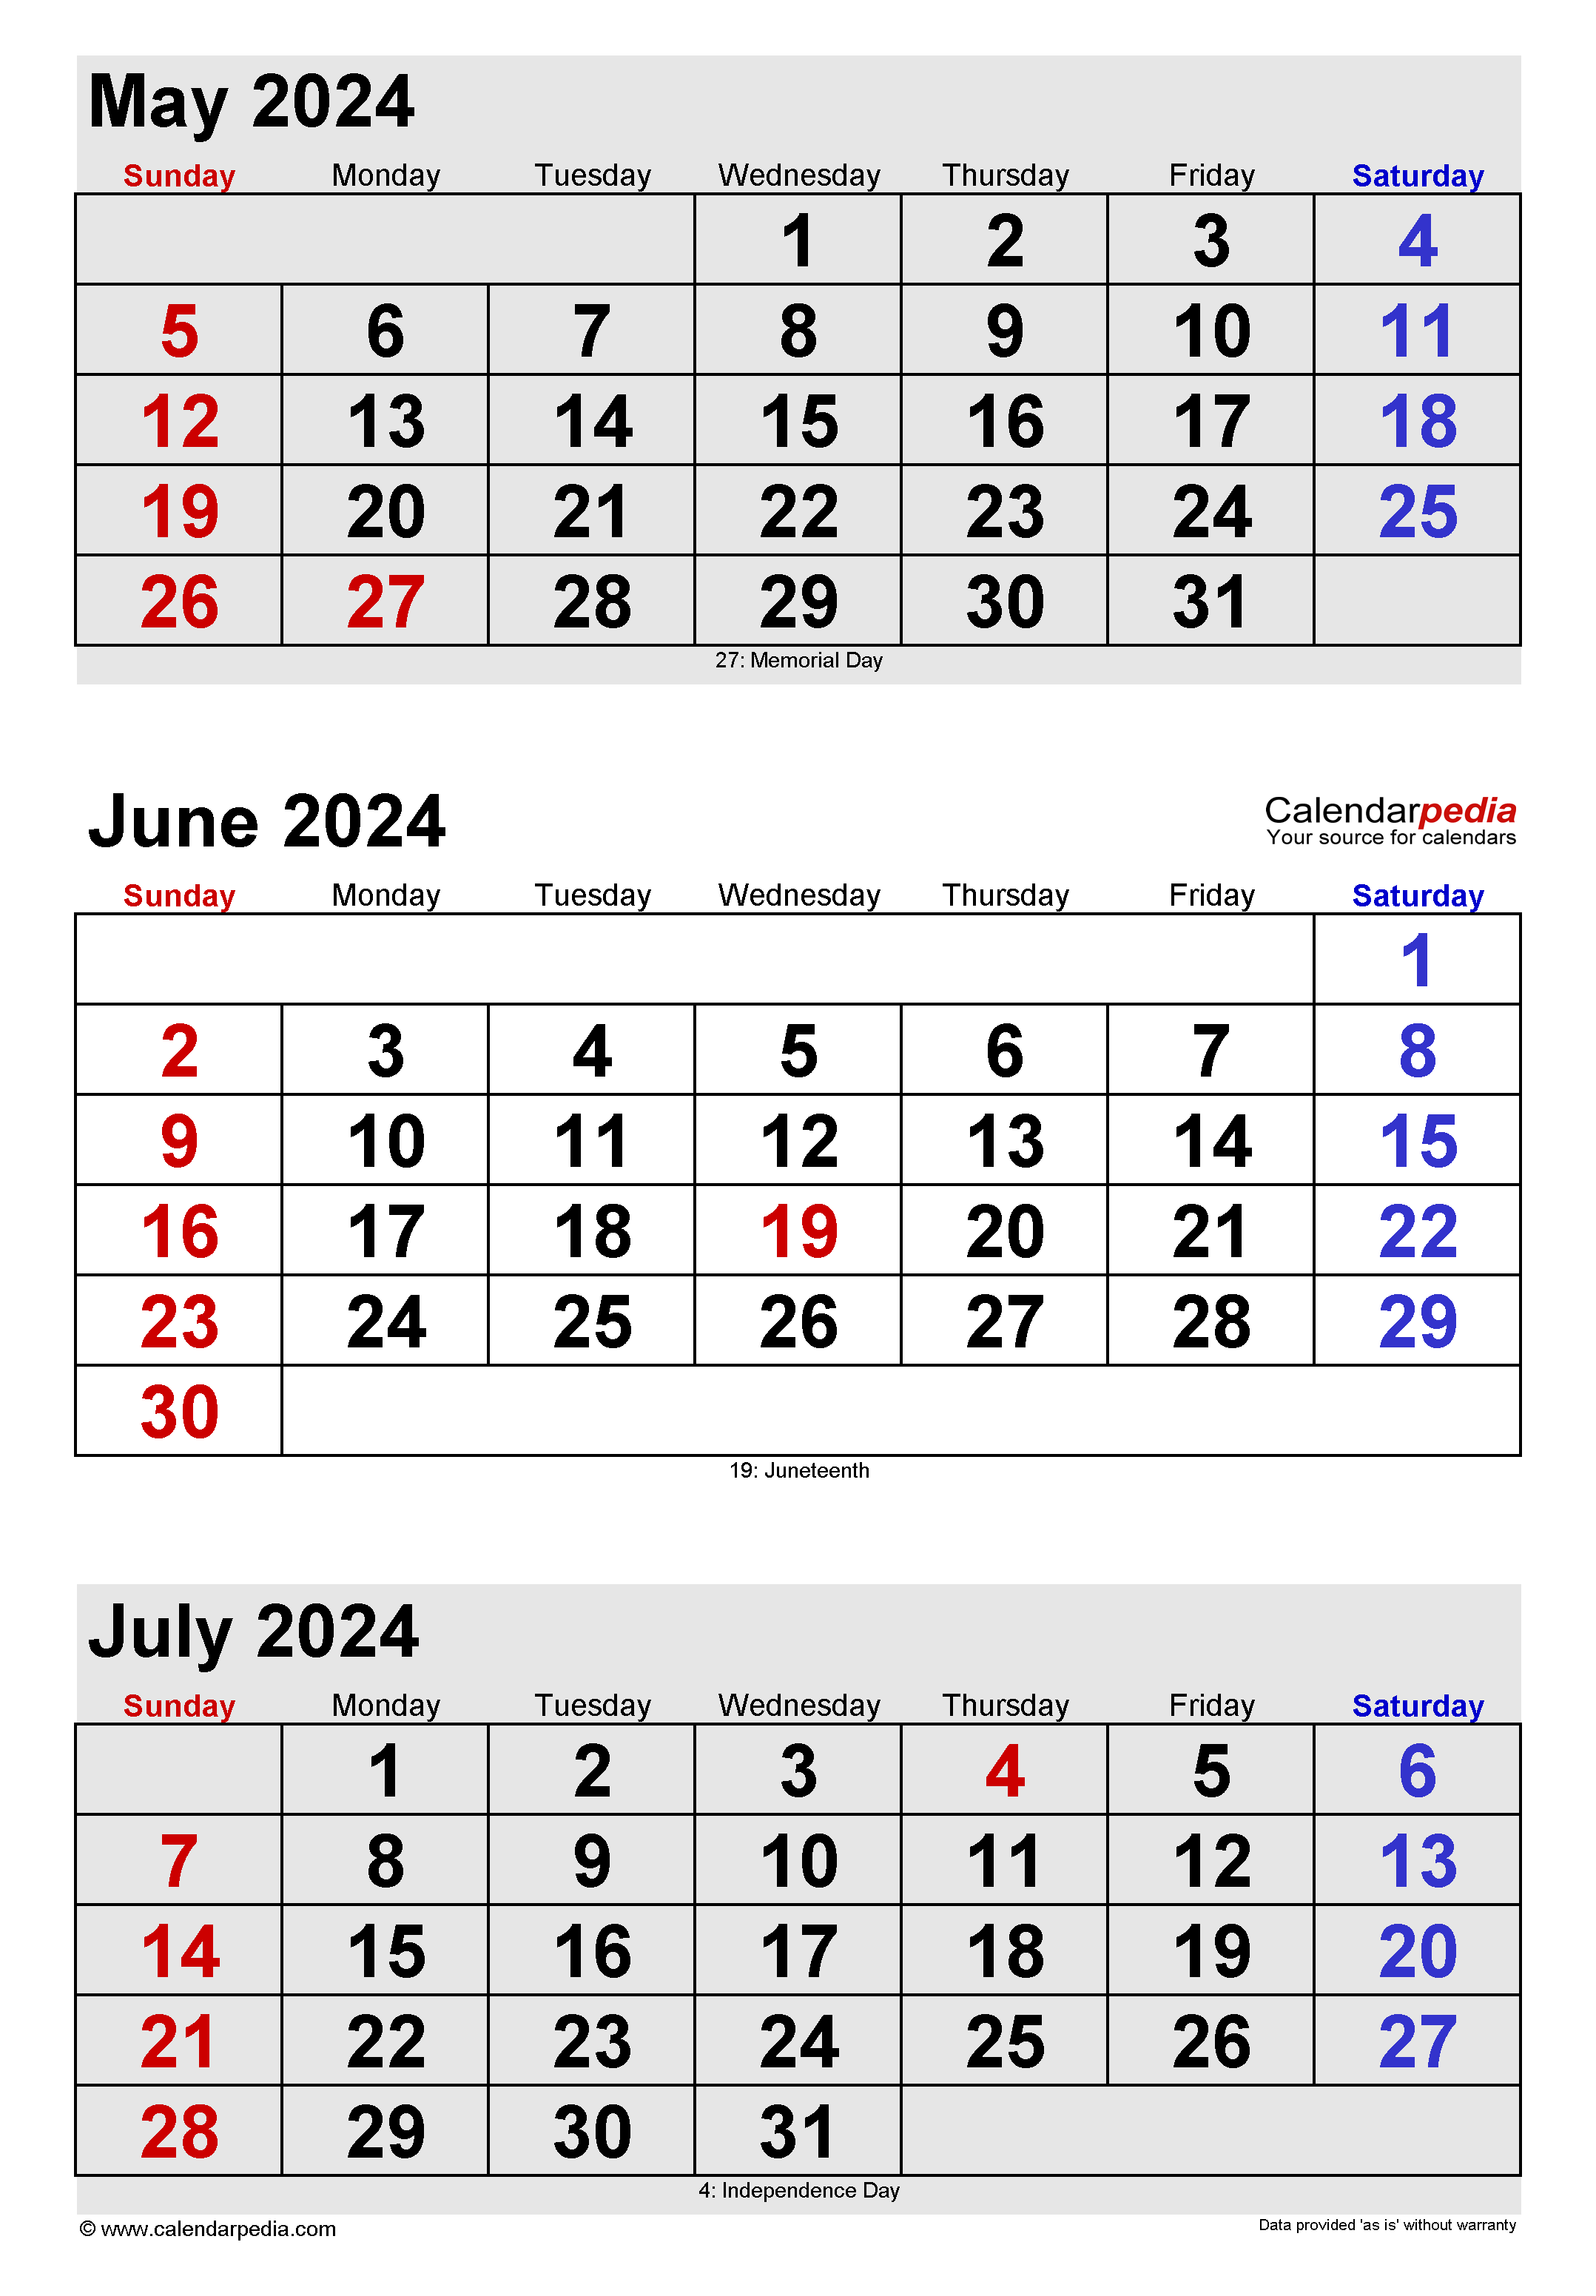
c) Populate the Calendar Grid: For each month, fill the corresponding cells with the dates for May and June. Start with May 1st in cell A3 and continue to May 31st in cell G33. For June, start with June 1st in cell H3 and continue to June 30th in cell N33.
Step 3: Customize the Calendar
a) Adjust Row Heights and Column Widths: Resize the rows and columns to accommodate the content and enhance readability. Select the entire calendar grid (cells A2:N33) and adjust the row height and column width as desired.
b) Apply Cell Borders and Shading: Add borders around the calendar cells to define the grid. Select the entire calendar grid (cells A2:N33) and apply borders using the "Borders" option under the "Home" tab. You can also apply shading to highlight specific dates or time periods.
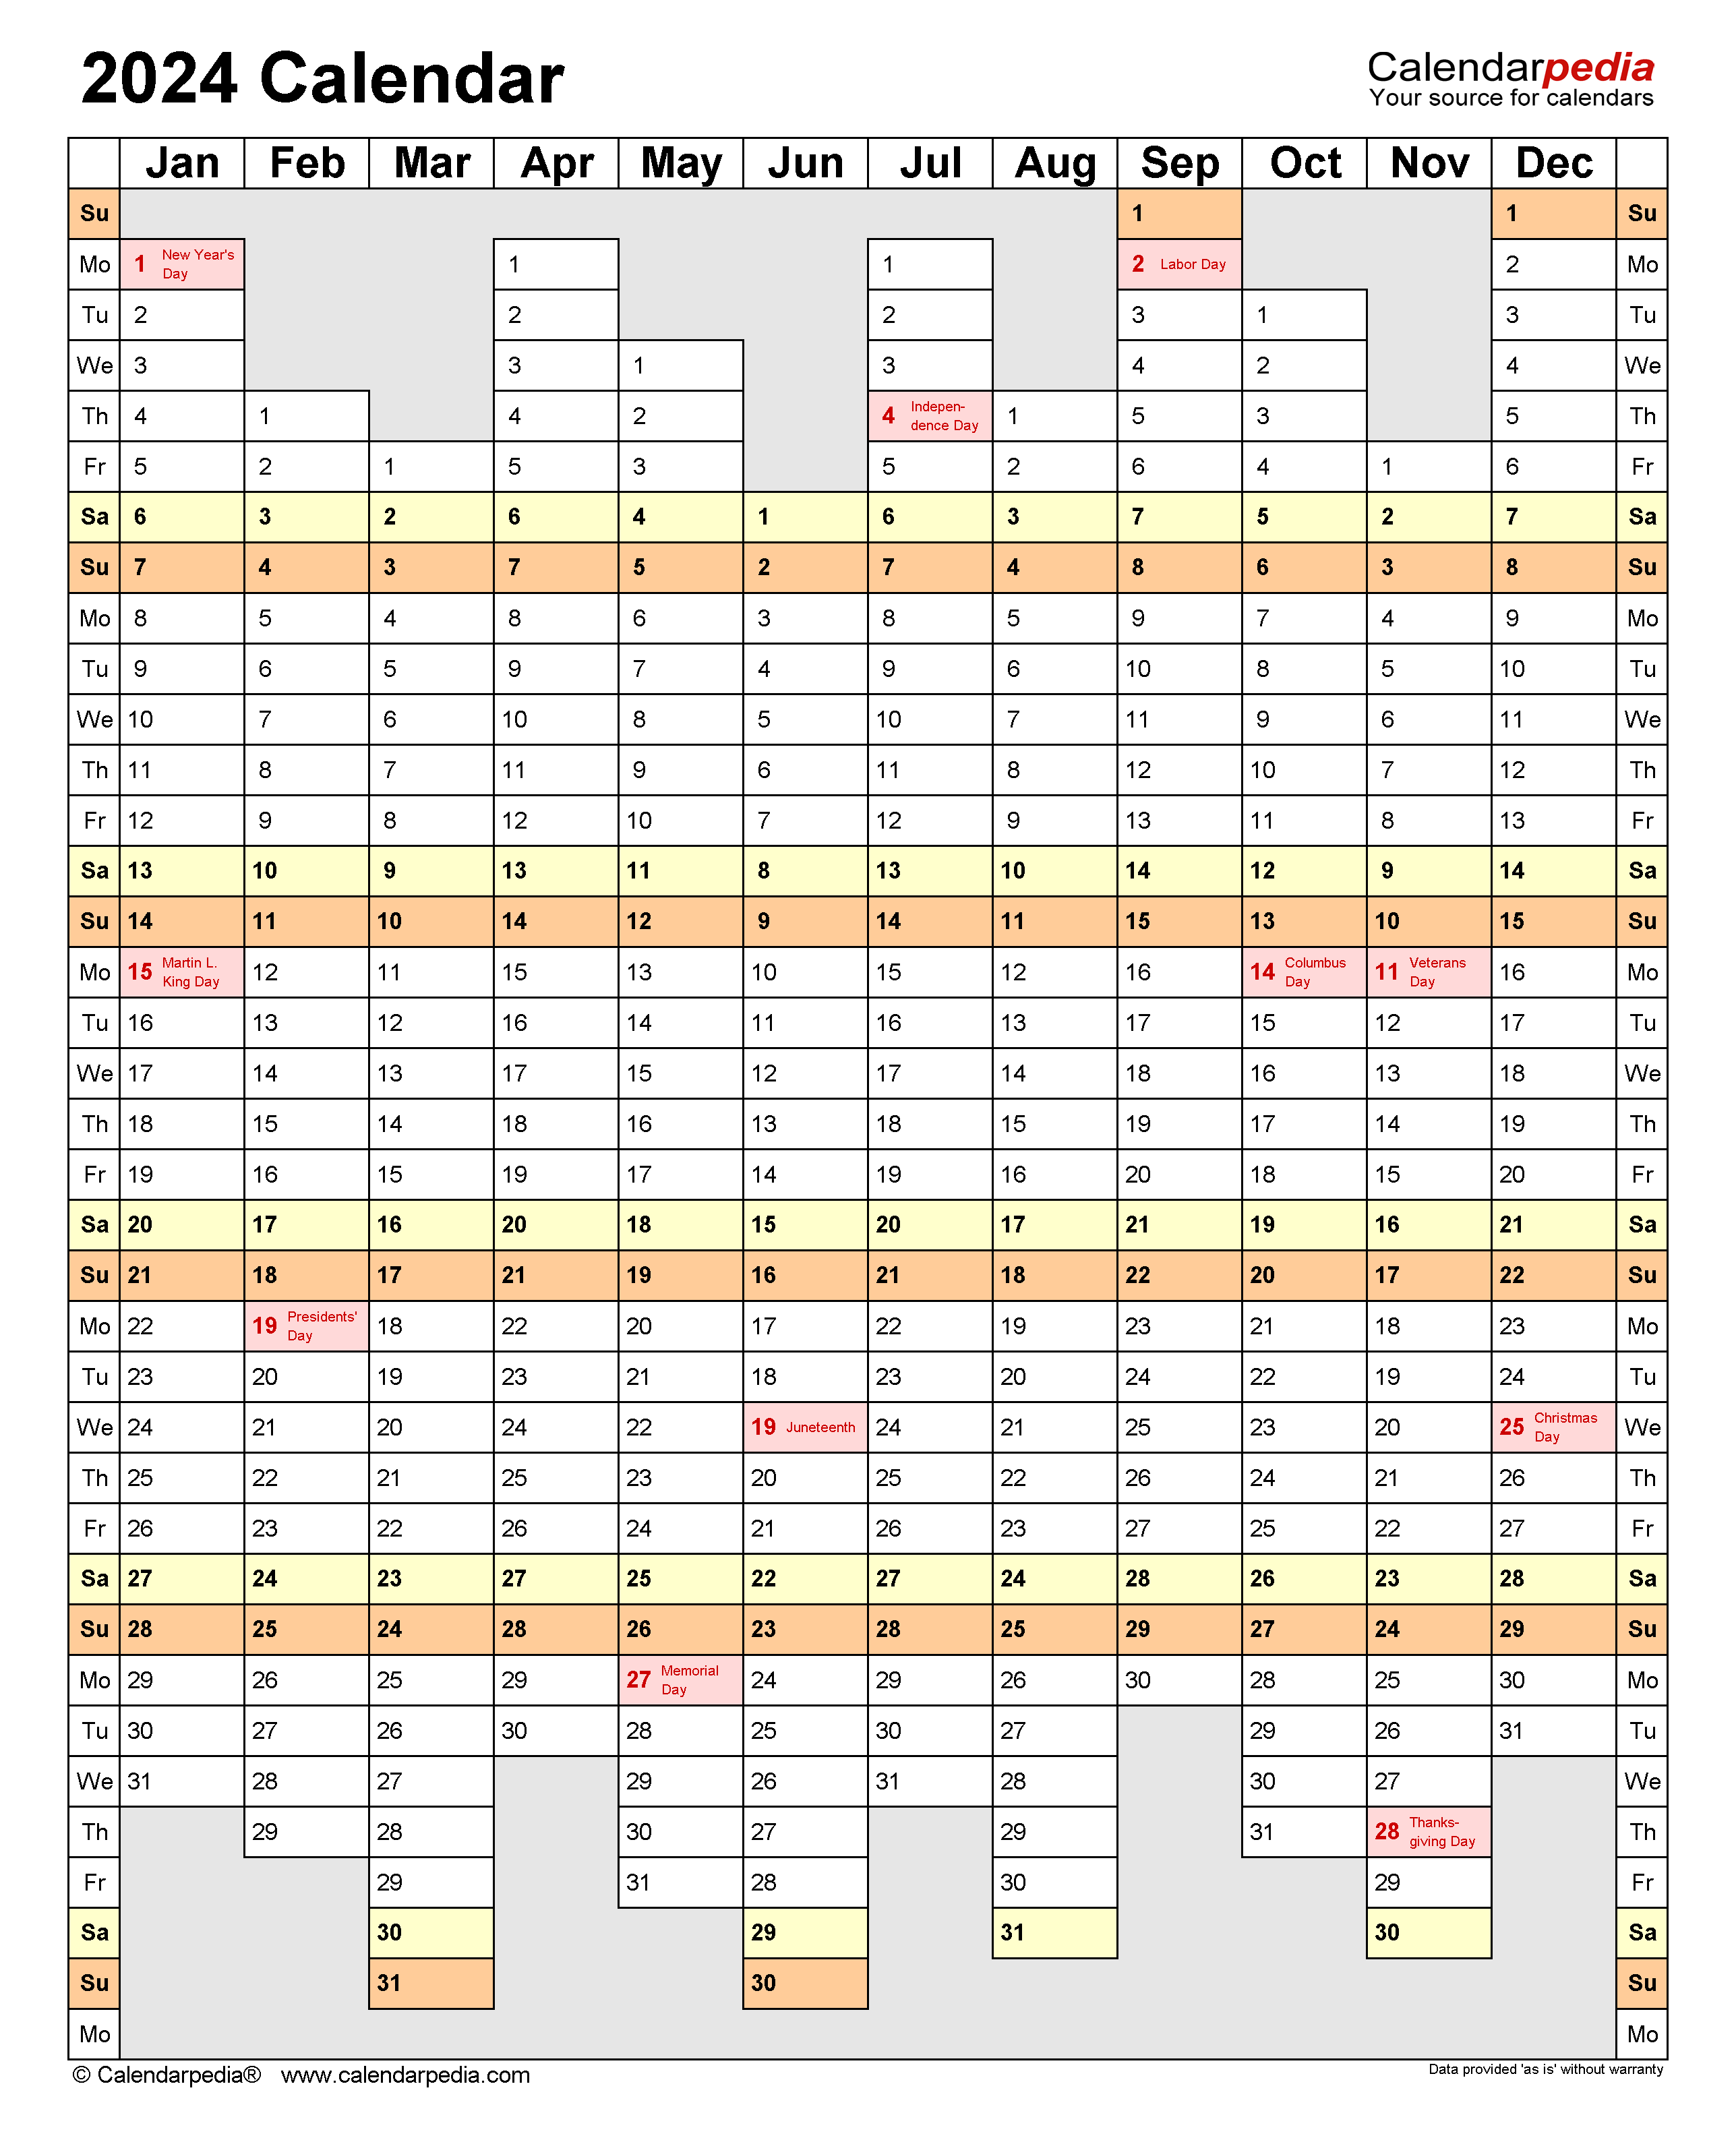
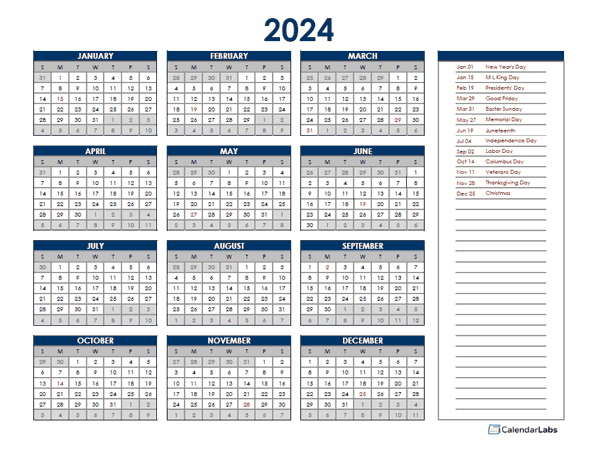
c) Insert Holidays and Events: Mark important holidays or events on the calendar. Select the corresponding cells and enter the holiday or event name. You can use different colors or fonts to differentiate between different types of events.
Step 4: Format the Calendar
a) Choose a Font and Font Size: Select the entire calendar grid (cells A2:N33) and apply a font and font size that enhances readability. Consider using a clear and professional font such as Calibri or Arial.
b) Apply Number Formatting: Format the date cells (cells A3:N33) as "Date" using the "Number" format under the "Home" tab. This will display the dates in a consistent and recognizable format.
Step 5: Add Additional Features
a) Create a Notes Section: Insert a column next to the calendar grid for adding notes or reminders. This can be helpful for jotting down important information associated with specific dates.
b) Include a Summary Table: Create a summary table below the calendar to track appointments, deadlines, or other important information. This table can provide a quick overview of your schedule.
c) Add Macros for Automation: If desired, you can incorporate macros to automate tasks such as highlighting weekends or adding recurring events. Macros can be recorded using the "Macros" option under the "View" tab.
Step 6: Save and Share the Calendar
a) Save the Calendar: Save the completed calendar as an Excel file (.xlsx) to your computer. This will allow you to access and edit the calendar in the future.
b) Share the Calendar: Share the calendar with others by sending them the Excel file or publishing it online. You can use cloud storage services such as OneDrive or Google Drive to facilitate sharing.
Conclusion
Creating a May-June 2024 calendar in Excel is a straightforward and rewarding task. By following the steps outlined in this guide, you can create a customized and visually appealing calendar that meets your specific planning and organization needs. The versatility of Excel allows for endless possibilities, empowering you to track appointments, manage deadlines, and stay organized throughout the months of May and June 2024.
Closure
Thus, we hope this article has provided valuable insights into May-June 2024 Calendar Excel: A Comprehensive Guide for Planning and Organization. We appreciate your attention to our article. See you in our next article!